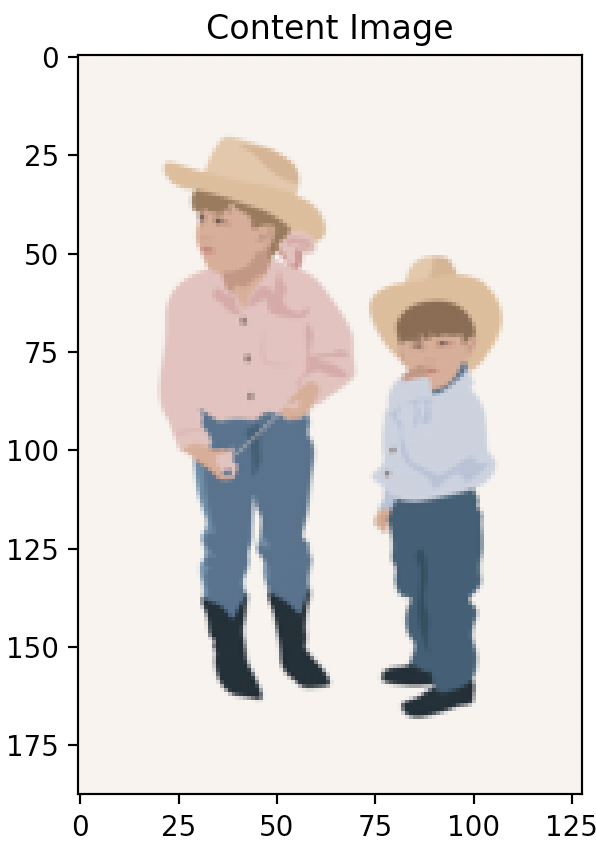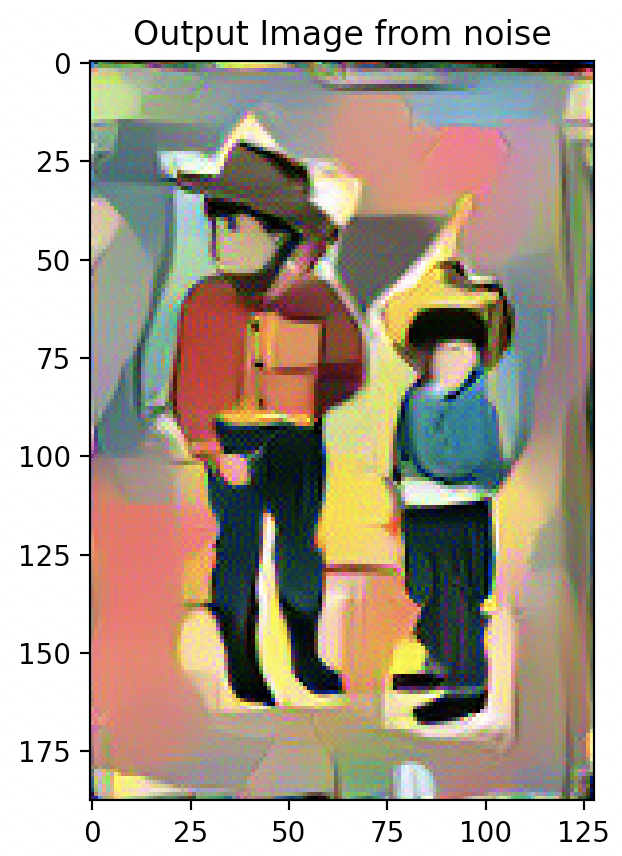
Image Synthesis Study 4
Neural Style Transfer Model
As part of 16-726 Learning-Based Image Synthesis at Carnegie Mellon UniversityPart 1: Content Reconstruction

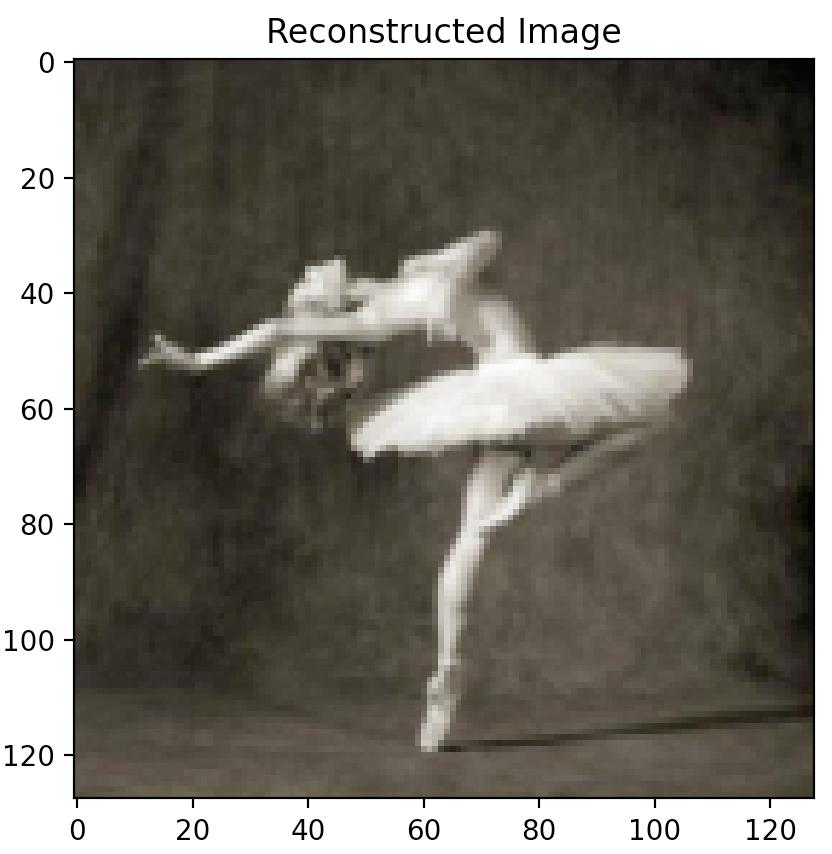
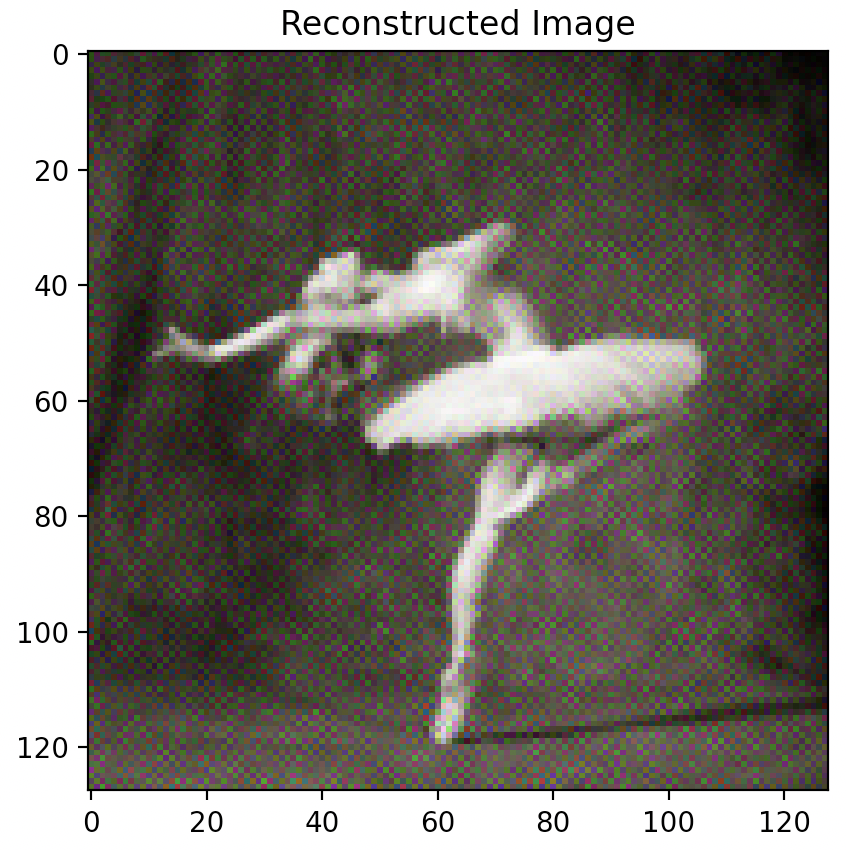
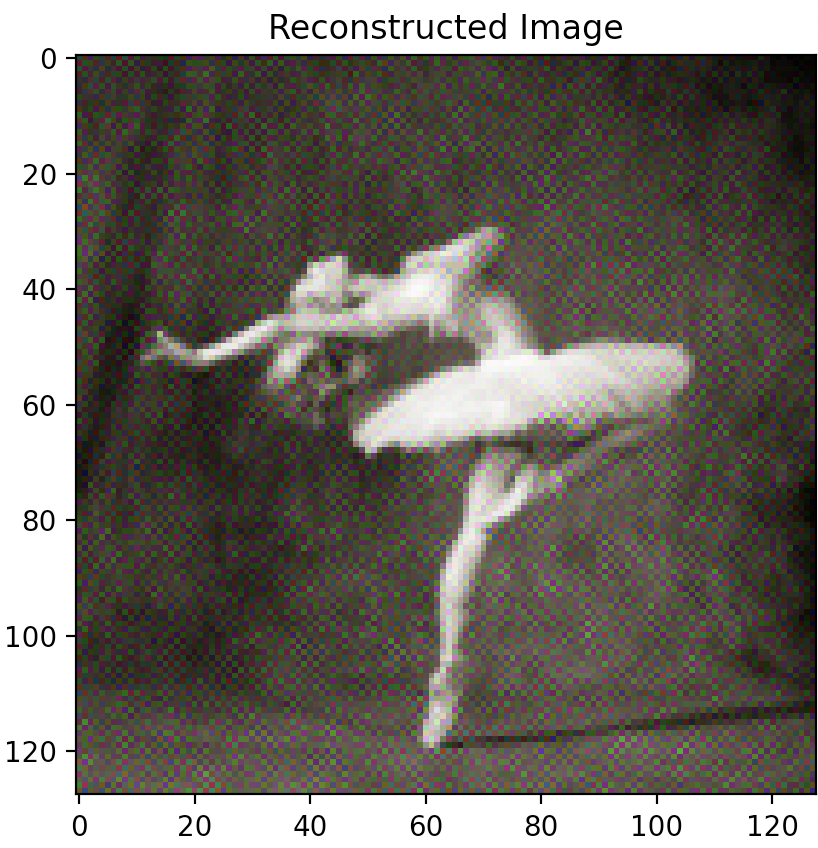
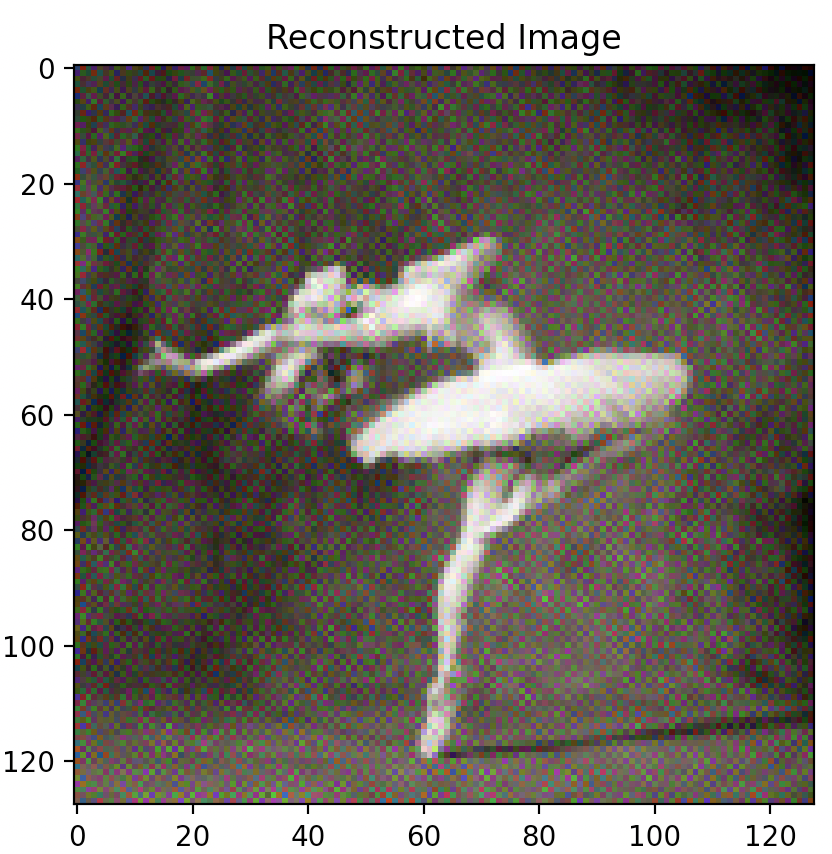
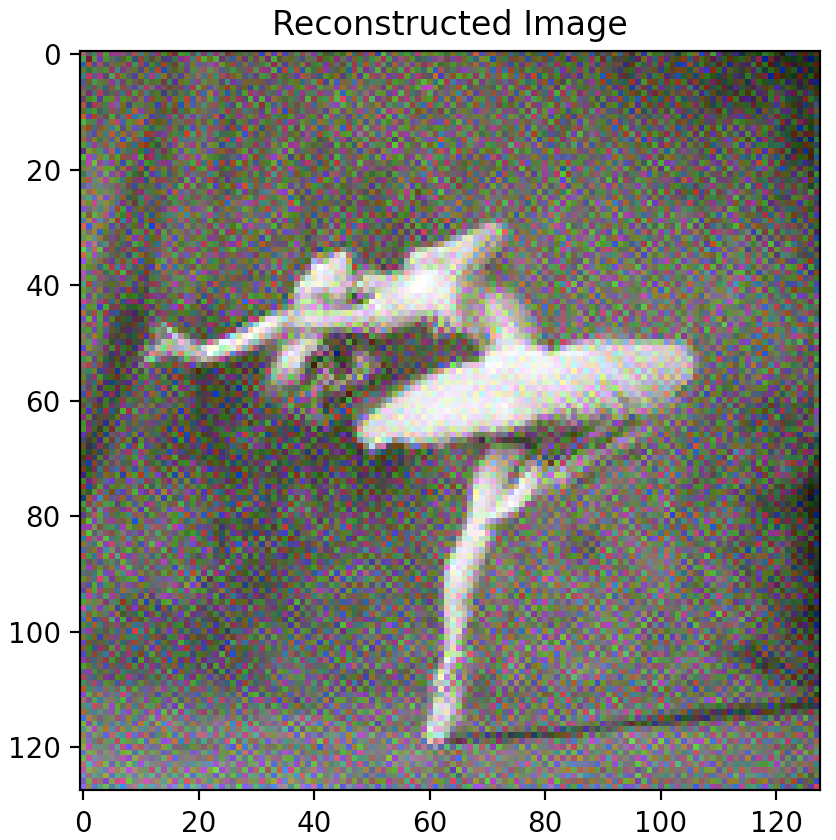

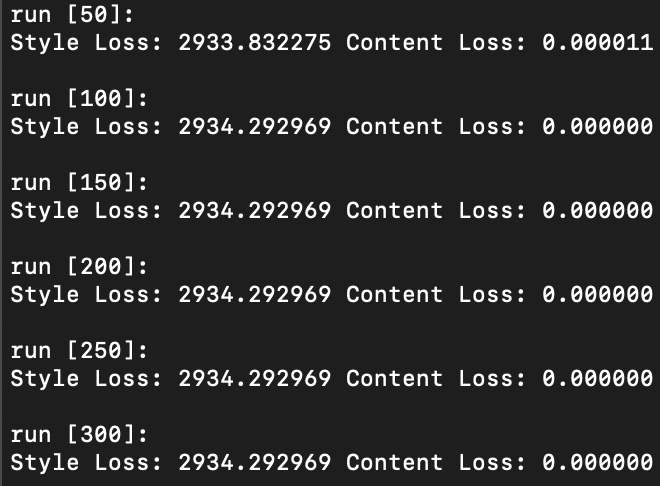
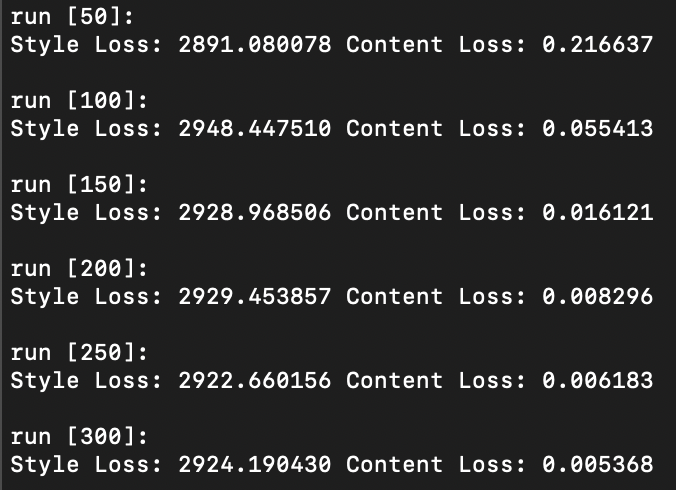

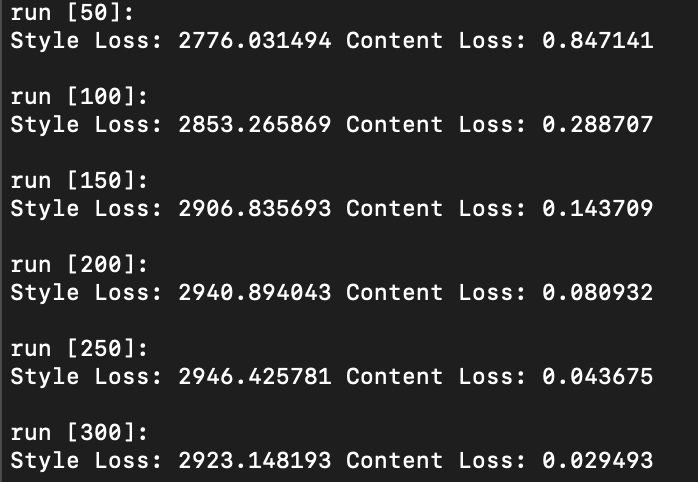
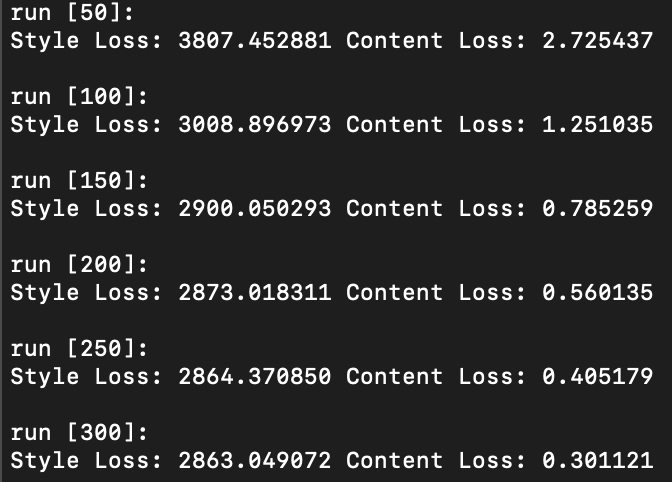
IMAGE DESCRIPTIONS
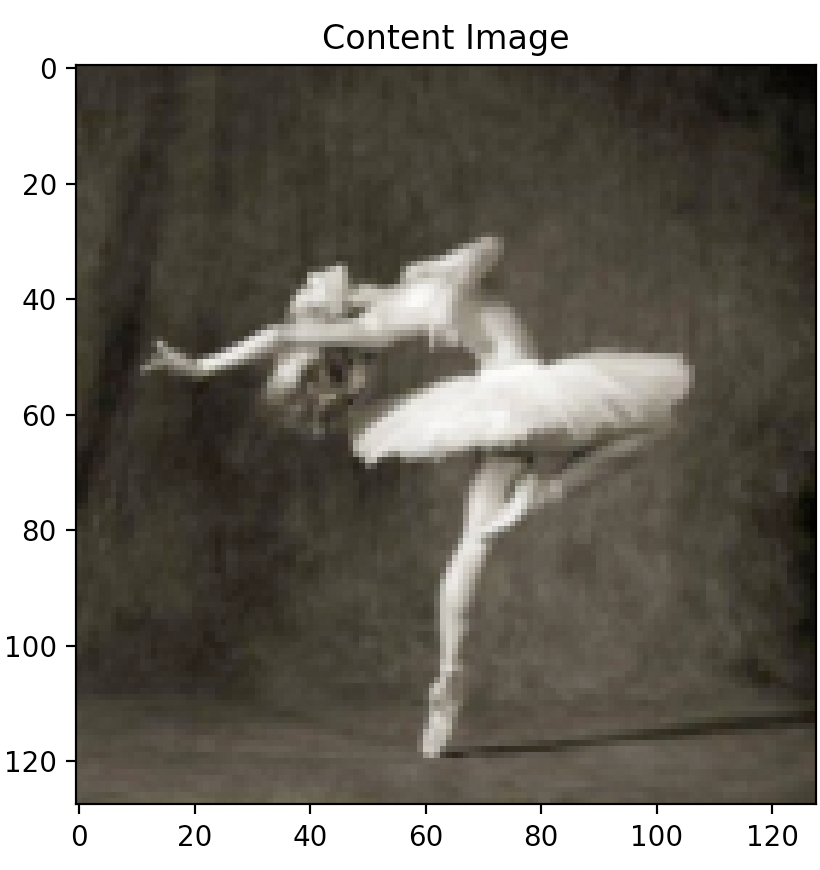
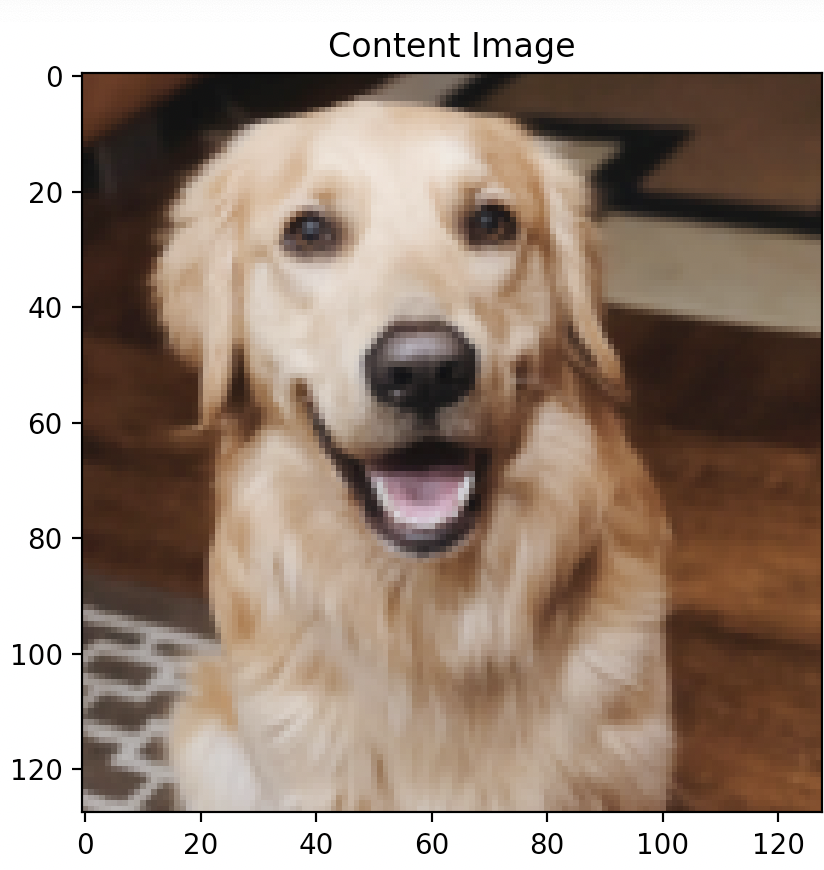
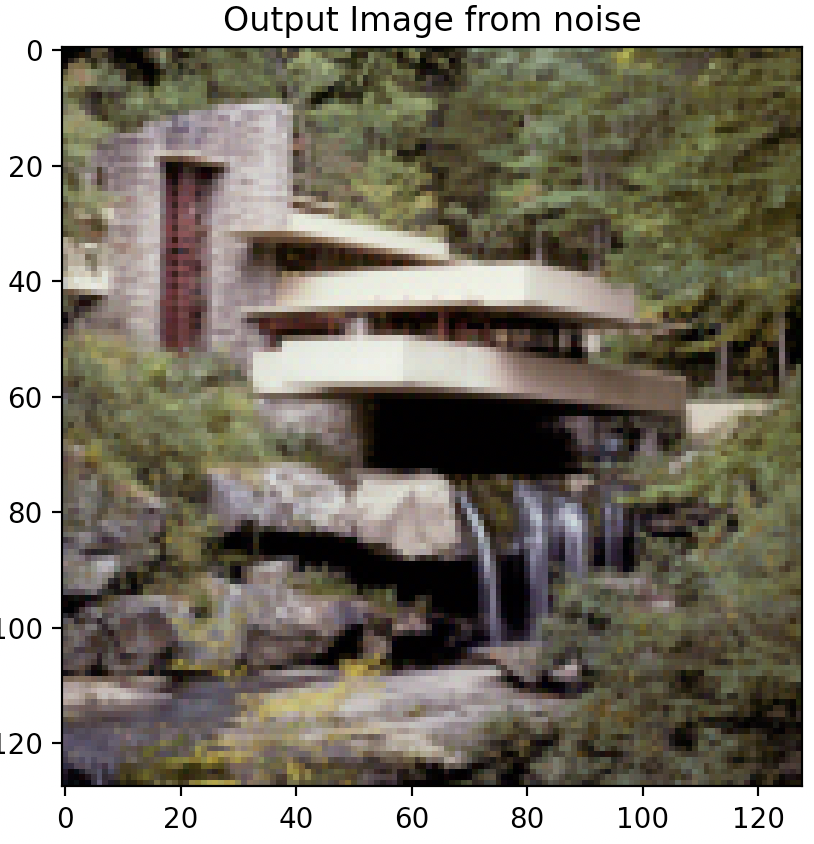
Far left image: Original content image,
Content “Reconstructed Images” from left to right: layer 1 (Conv2d), layer 2 (ReLU), layer 3 (MaxPool2d), layer 4 (Conv2d), layer 5 (ReLU).
EXPERIMENT
Question 1: Report the effect of optimizing content loss at different layers.
As illustrated above, optimizing content loss earlier in the “shallow” layers (layer 1 or layer 2) results in very accurate image reconstruction, while optimizing later on and deeper into the model architecture at, say, layer 4 or 5, results in coarser, less accurate content reconstructions. Coarser reconstruction that occurs at greater model depth is defined by noticeable pixelation and image graininess, while finer reconstruction occurring in shallower model depth is defined by sharper imagery that is more in-line with the original image quality.
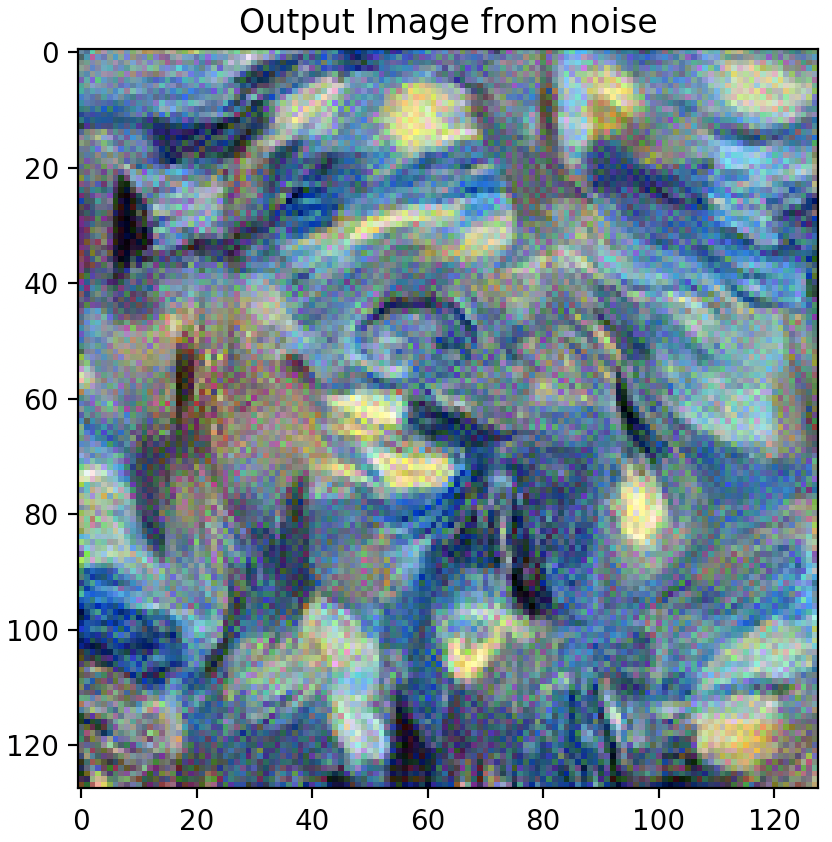
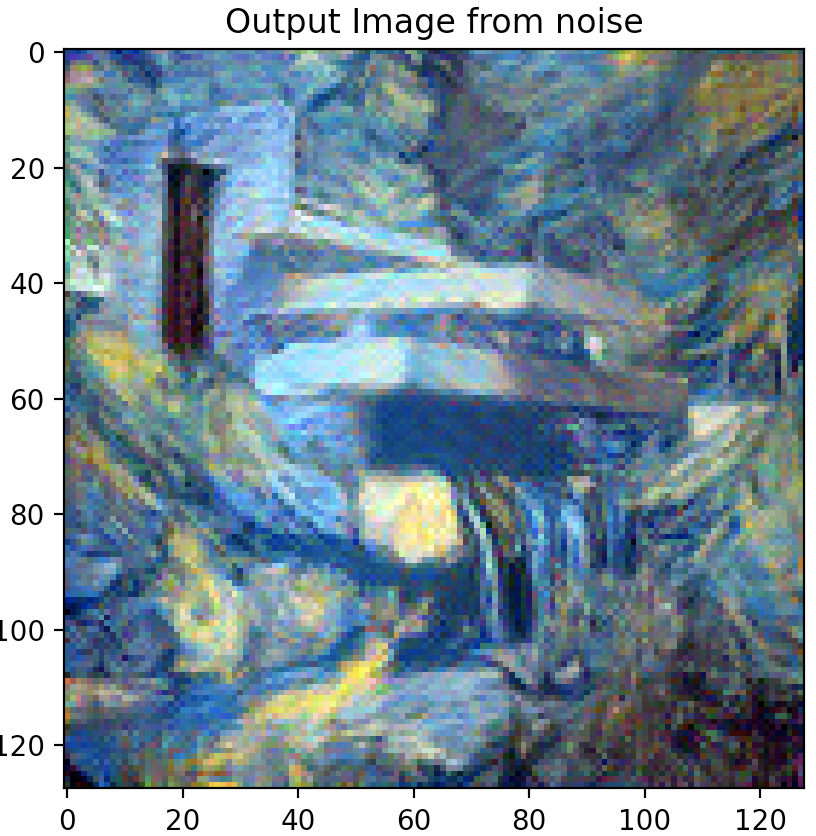
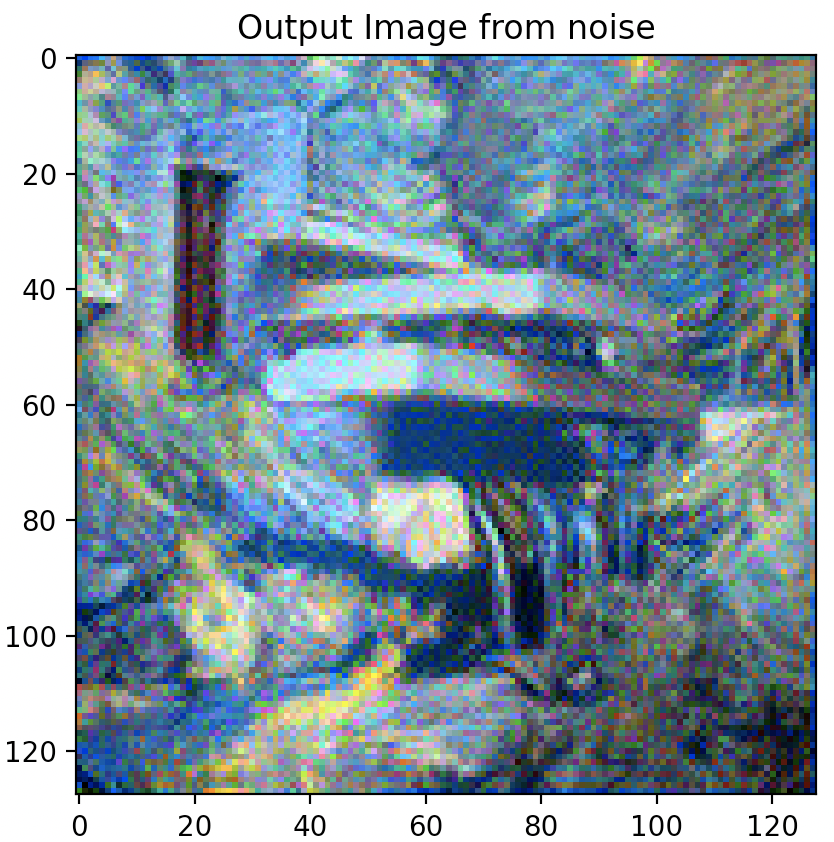
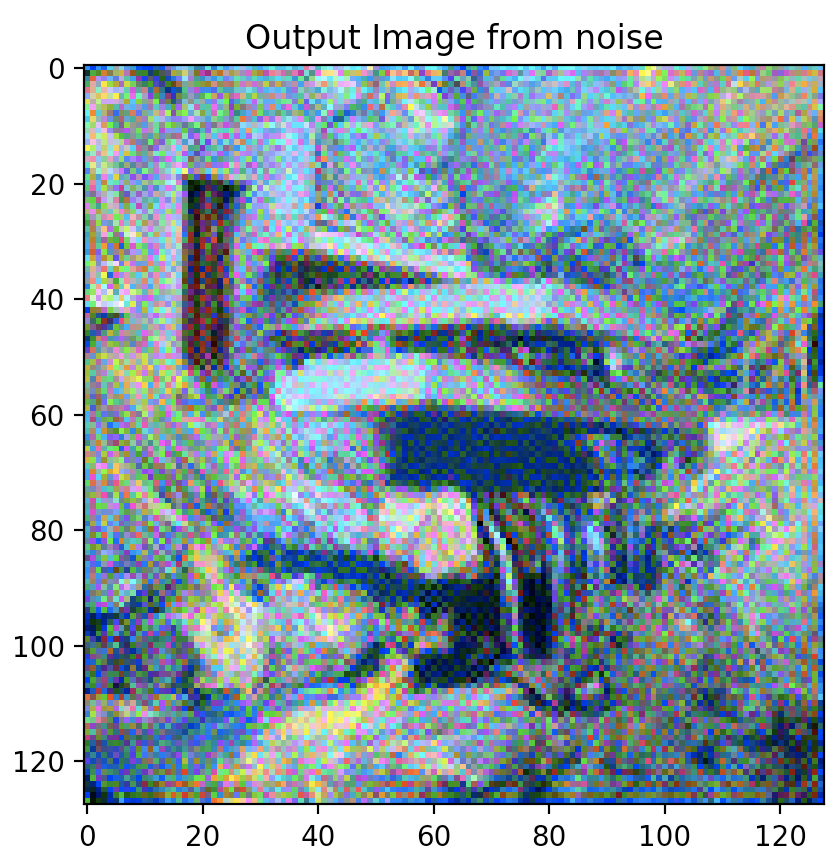
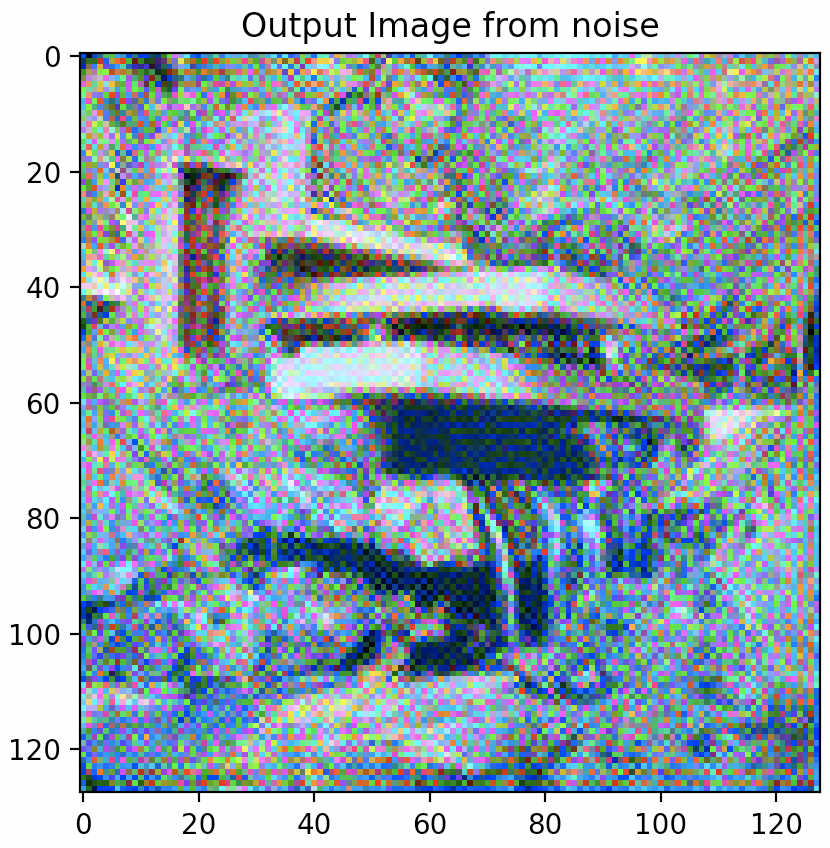
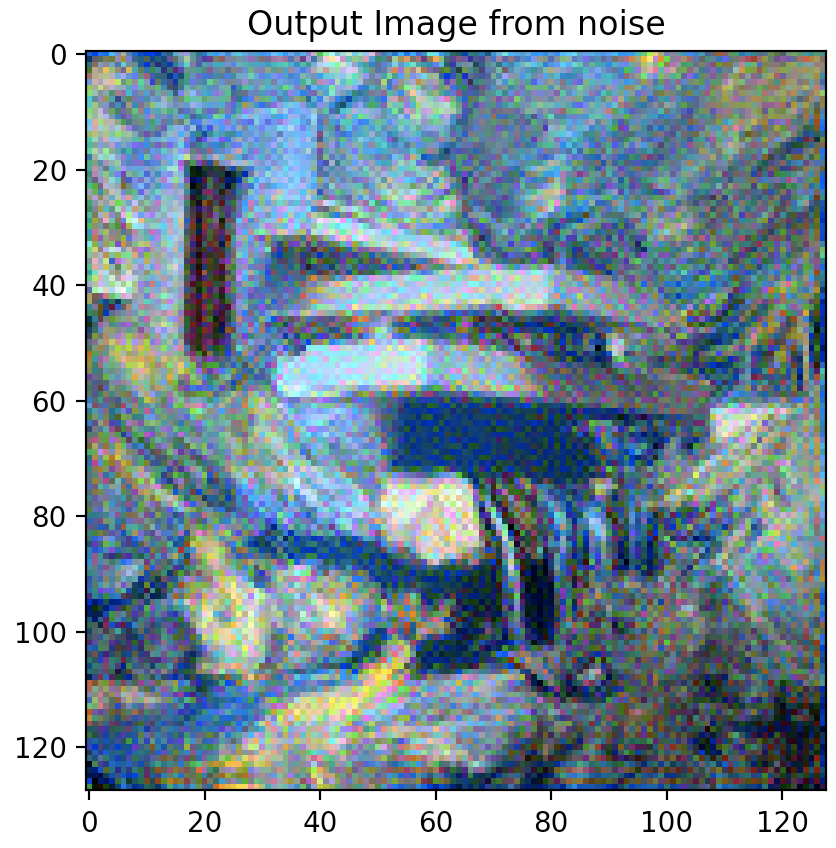
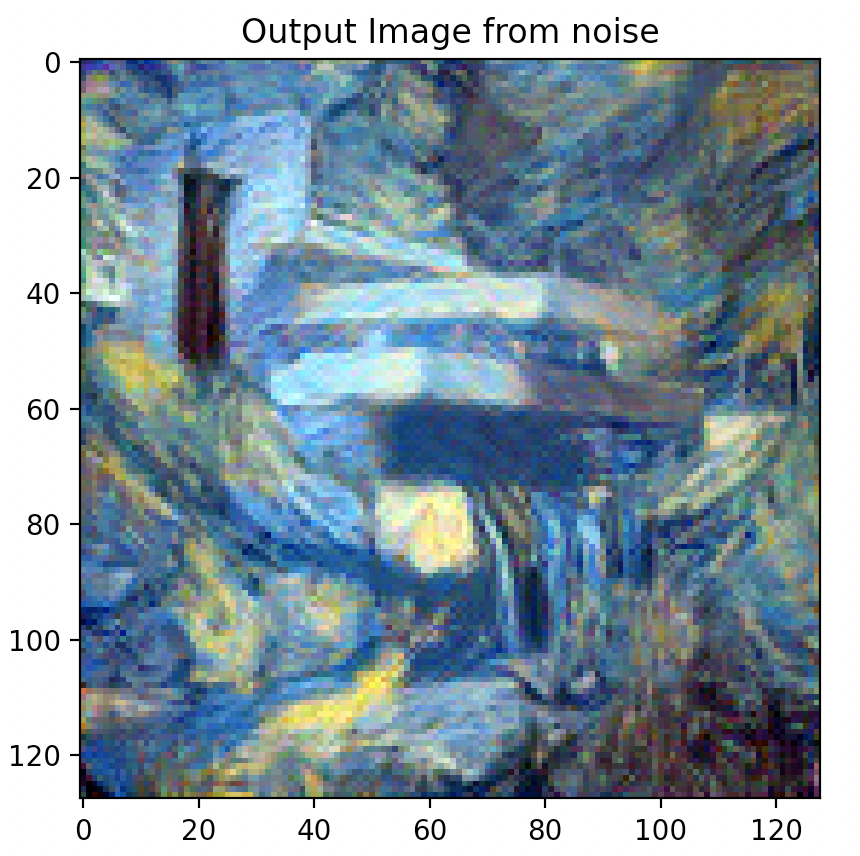
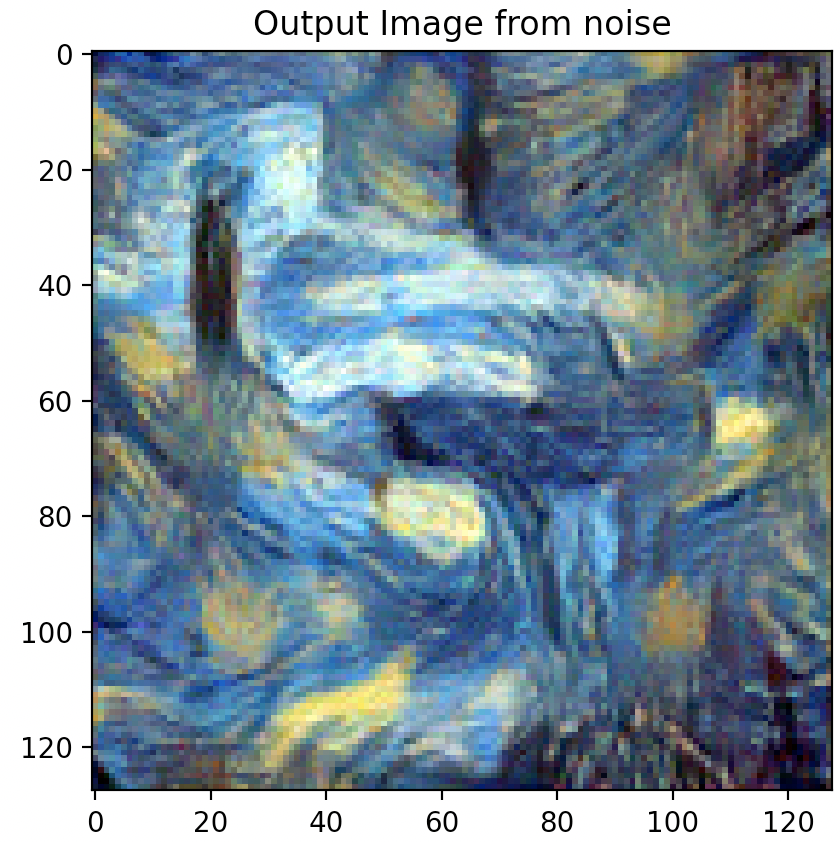
Question 2: Choose your favorite one (specify it on the website). Take two random noises as two input images, optimize them only with content loss. Please include your results on the website and compare each other with the content image. [15 points]
Instead of choosing two, I applied this method to all layers in the model architecture. Above illustrations were all created by using a random noises sample as input image and optimizing at that specific layer for only content loss.
Part 2: Texture Synthesis
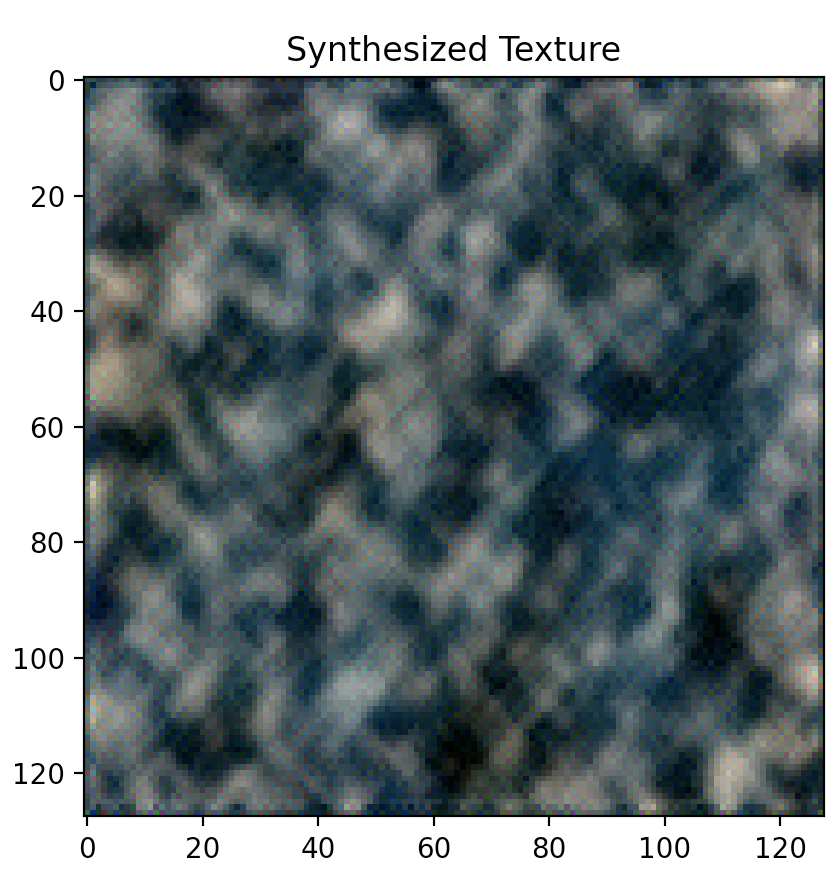
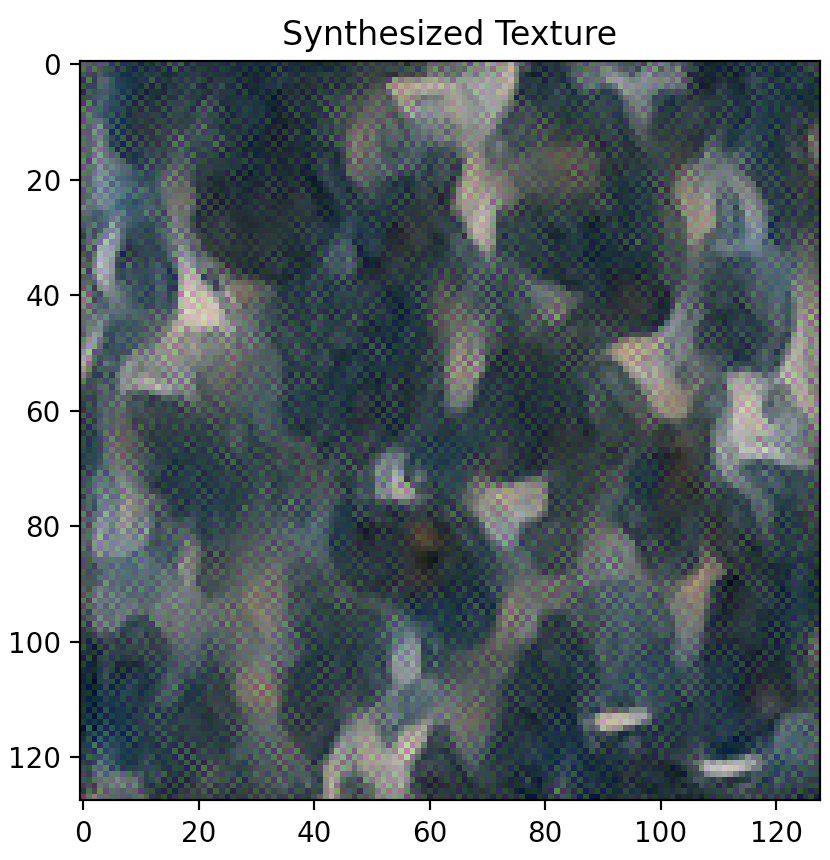
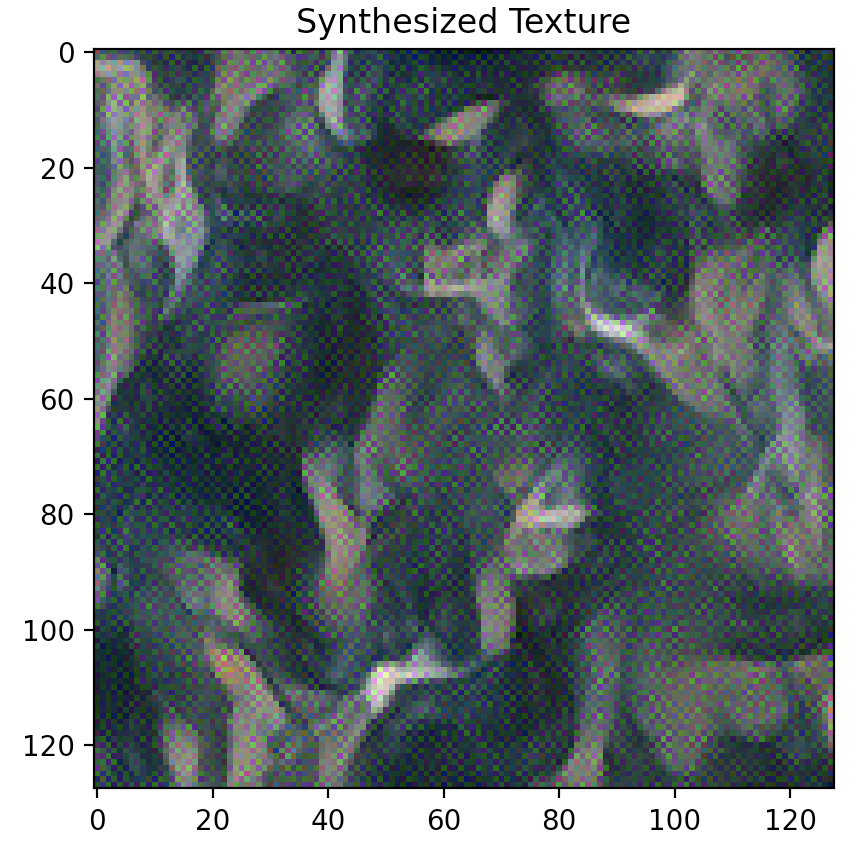
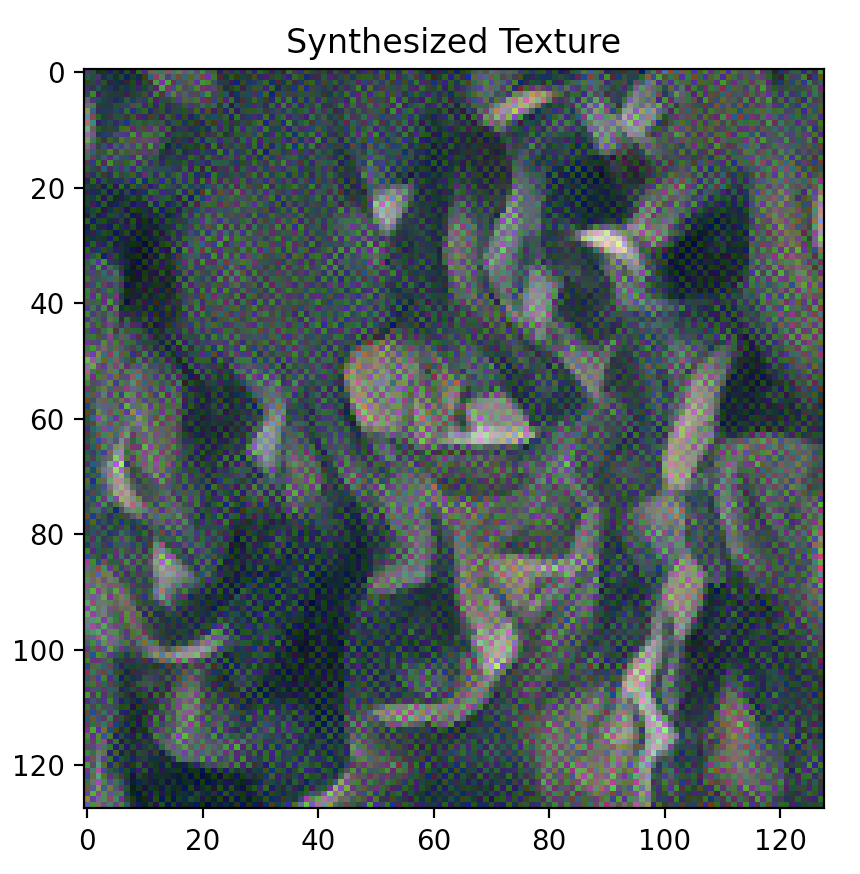
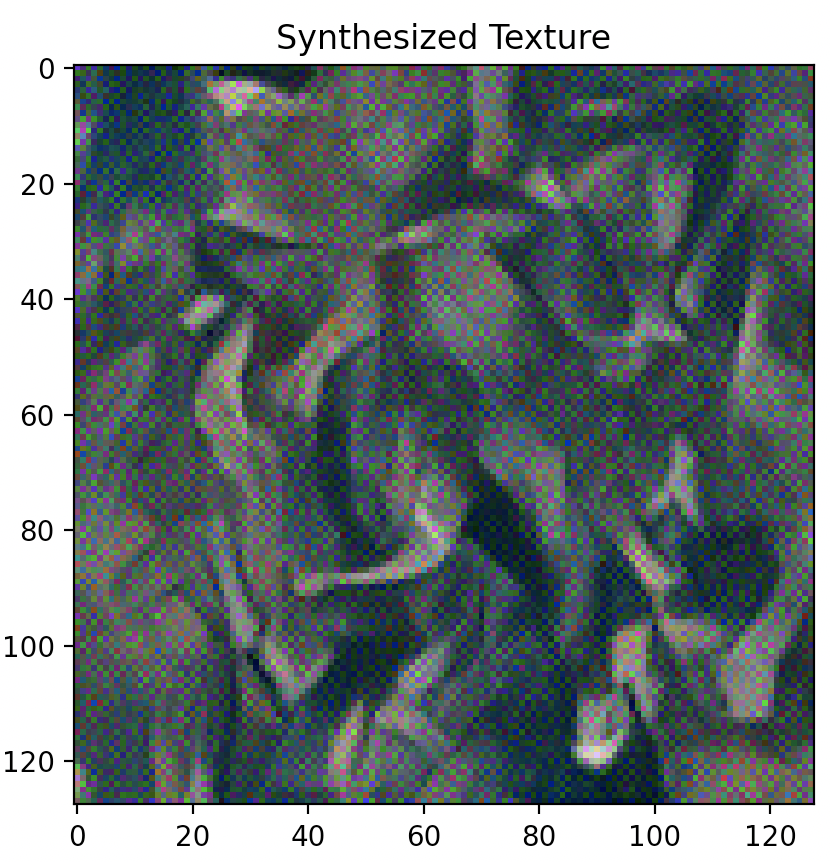

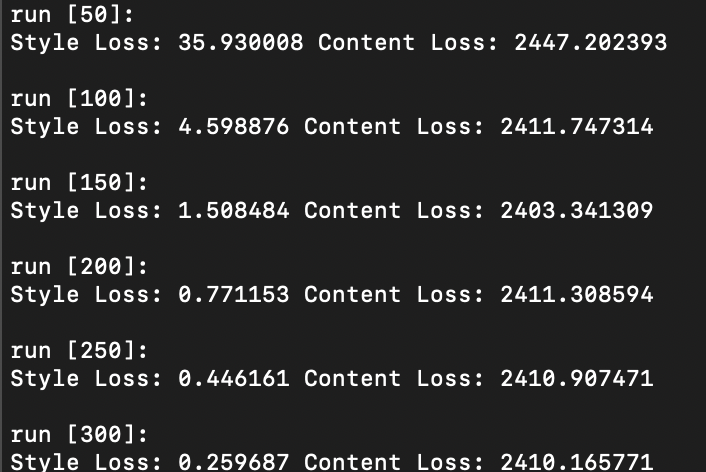
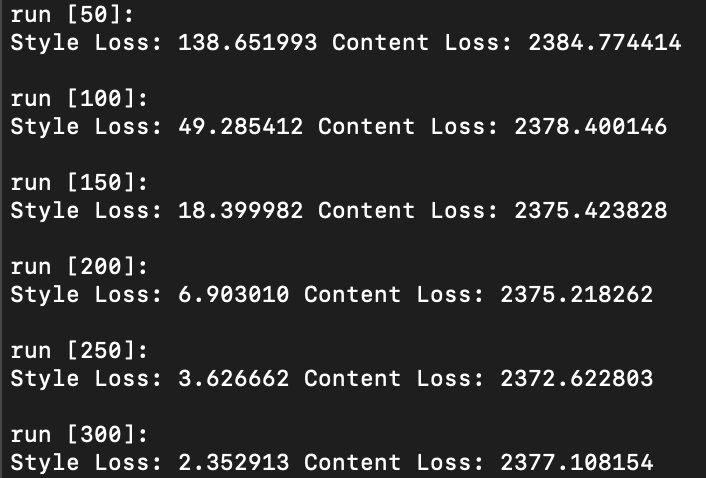
IMAGE DESCRIPTIONS
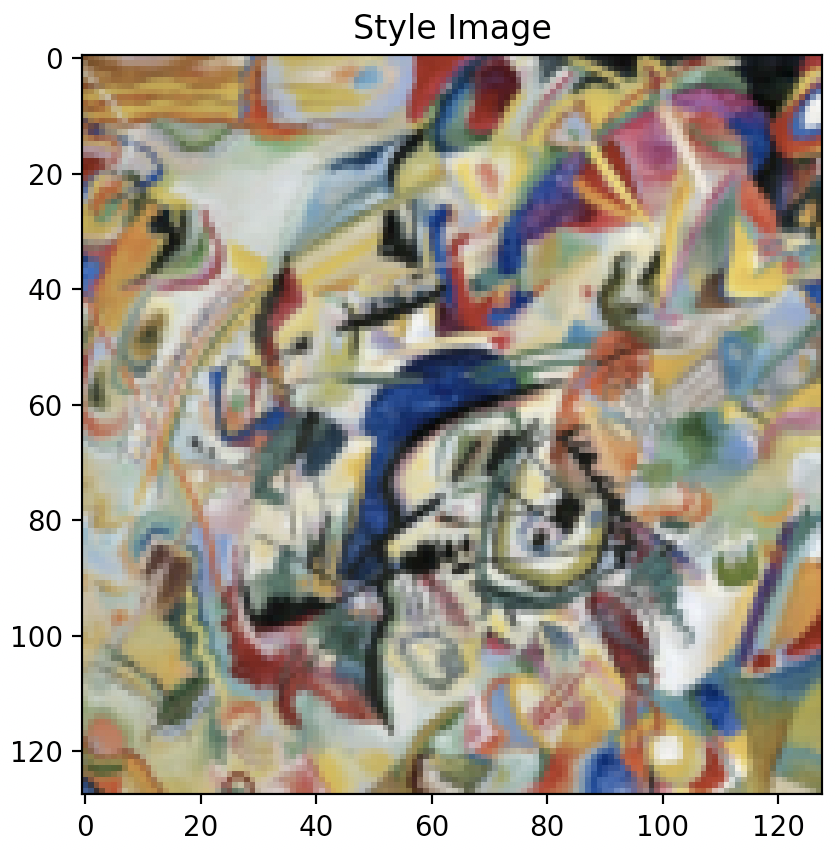
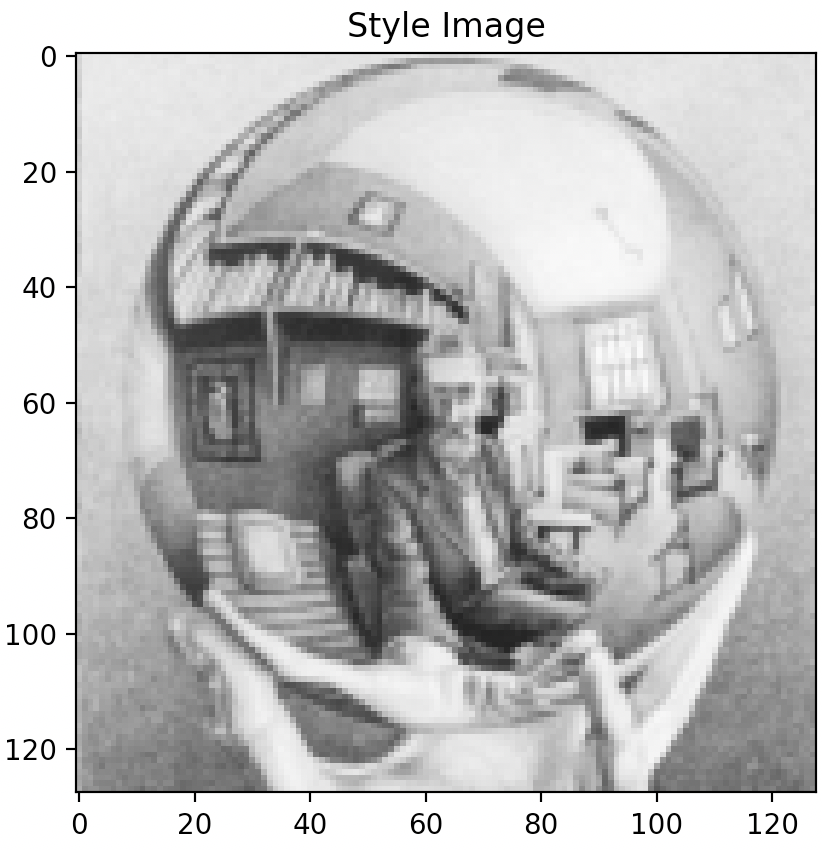
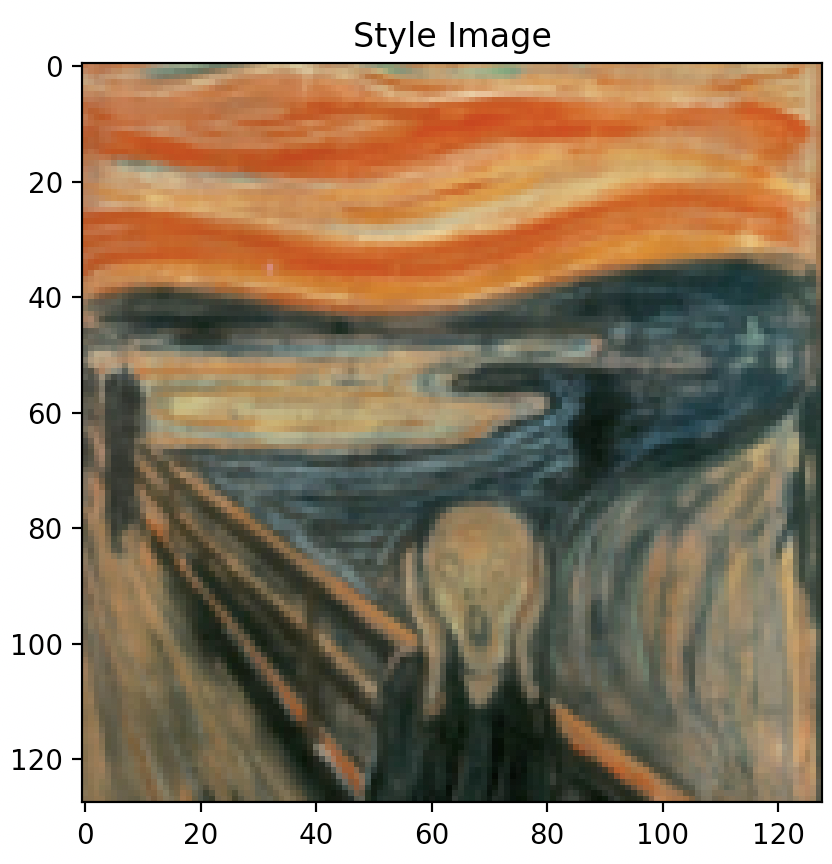
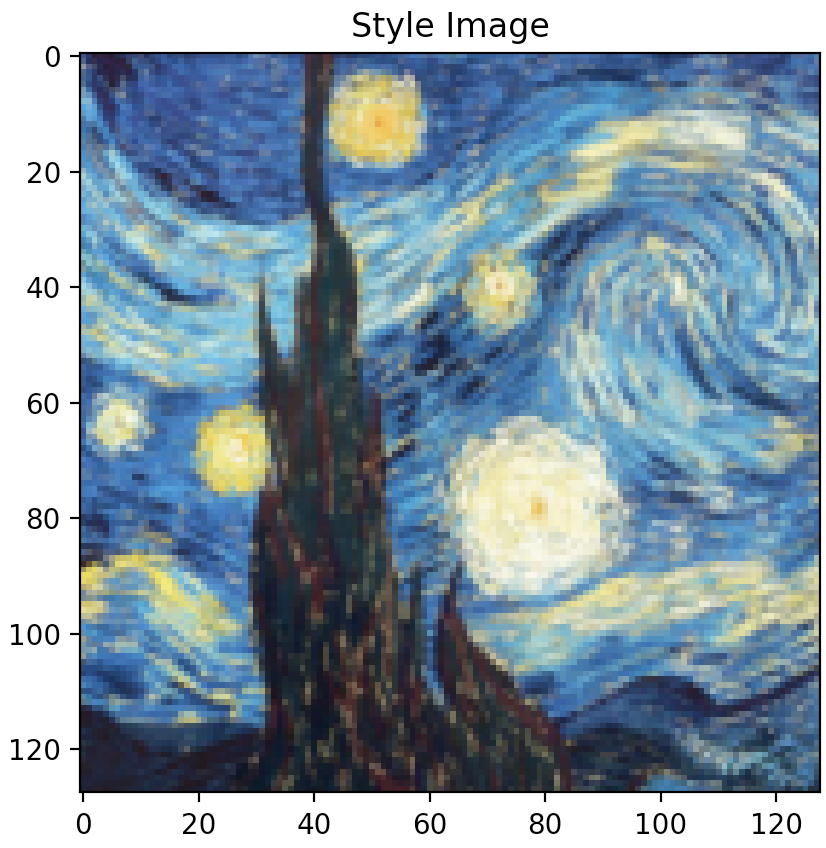
Far left image: Original style image,
Style “Synthesized Texture” from left to right: layer 1 (Conv2d), layer 2 (ReLU), layer 3 (MaxPool2d), layer 4 (Conv2d), layer 5 (ReLU).
EXPERIMENT
Question 1: Report the effect of optimizing texture loss at different layers. Use one of the configurations; specify it in the website and:.
As illustrated above, optimizing texture loss earlier in the “shallow” layers (layer 1 or layer 2) results in poor texture reconstruction, while optimizing later on and deeper into the model architecture at, say, layer 4 or 5, results in finer more accurate texture reconstructions. Finer reconstruction that occurs at greater model depth is defined by a sharp generated texture that appears very closely aligned to the original texture image, while courser reconstruction occurring in shallower model depth is defined by a blurrier texture image that is closer to the random noise sample that was used as input image than the original texture image itself. Interestingly however, colour wise, both texture reconstructed images that result in both earlier and later layers appear to contain the same colour spectrum and variety as the original texture image.
Question 2: Choose your favorite one (specify it on the website). Take two random noises as two input images, optimize them only with content loss. Please include your results on the website and compare each other with the content image. [15 points]
Instead of choosing two, I applied this method to all layers in the model architecture. Above illustrations were all created by using a random noises sample as input image and optimizing at that specific layer for only texture loss.
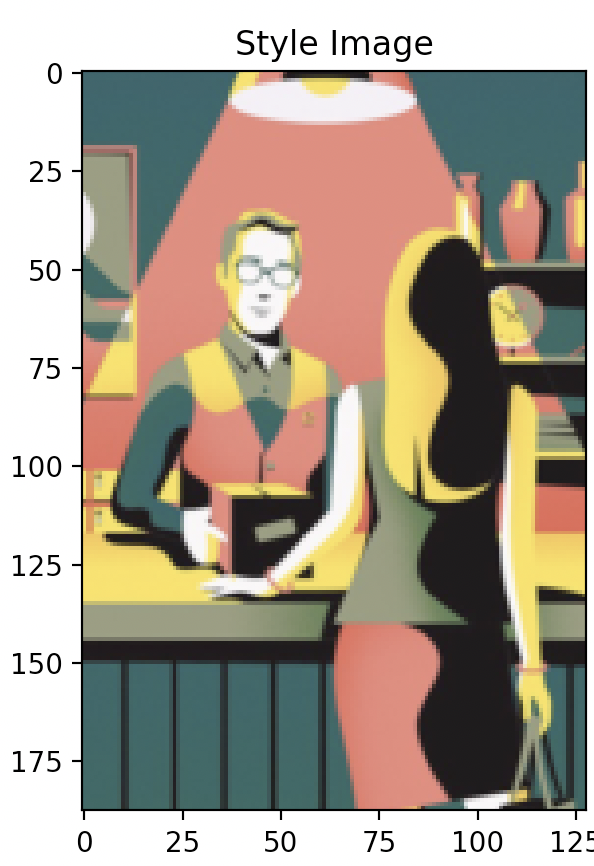
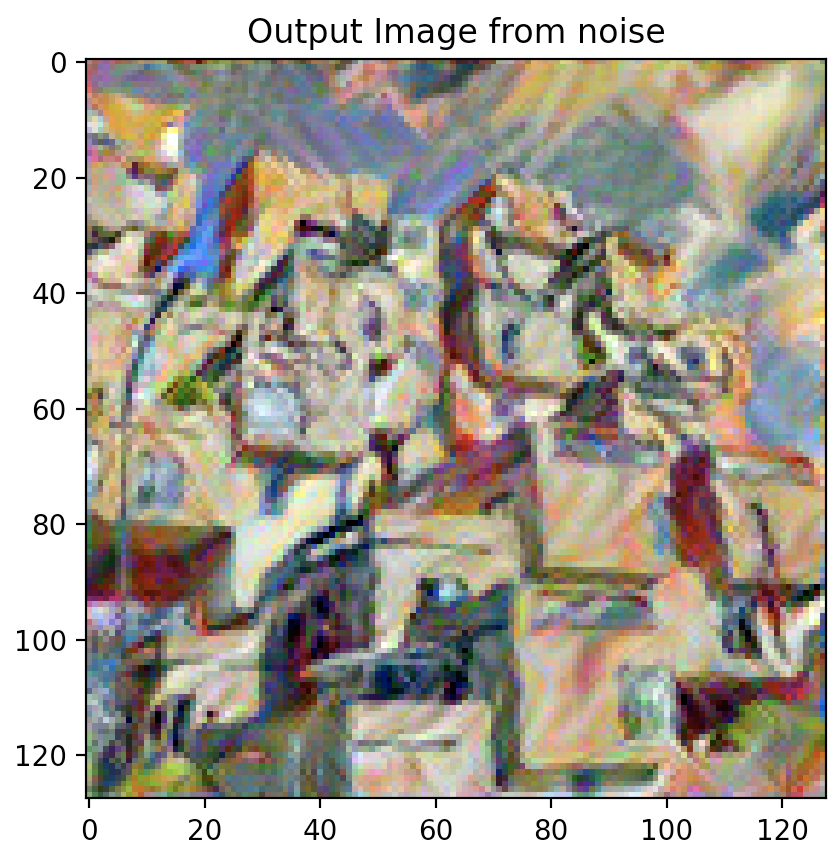
Part 3: Style Transfer
EXPERIMENT
Question 1: Tune the hyper-parameters until you are satisfied. Pay special attention to whether your gram matrix is normalized over feature pixels or not. It will result in different hyper-parameters by an order of 4-5. Please briefly describe your implementation details on the website.
Question 2: Please report at least a 2x2 grid of results that are optimized from two content images mixing with two style images accordingly.
Question 1: DRY RUN: No hyper-parameter tuning
resultant style transfer results inconsistent and not satisfactory


Changing Hyper-Parameters: Number of steps
Increasing the number of steps leads to a more stylized image that embodies more and more of the texture image style.
Images below from left to right: 5 steps, 15 steps, 100 steps, 300 steps, 600 steps, 900 steps

Changing Hyper-Parameters: Content Weight
Increasing the content weight leads to the underlying content being emphasized over the style weight. However, pixelation starts to occur if content weight is set too high. The results below show increasing content image presence and reducing texture style presence when moving left to right. However, the texture weight was still set high throughout this exercise which may have resulted in content image information still being somewhat hidden by texture image stylization.
Changing Hyper-Parameters: Style Weight
Increasing the style weight however, has more significant and noticeable impacts on the output synthesized image. Graininess does start to appear at low style weight settings (100 & 1000) but seems to disappear after a setting of 100,000.
Combining Best Style, Content Weights, & Step Count
Via the above experiments, it was found that the combination of 1,250,000 style weight, 15 content weight, and 500 step count rendered the best quality outputs that allows the content to be adequately preserved while highlighting the distinct style of the style image.


EXPERIMENT
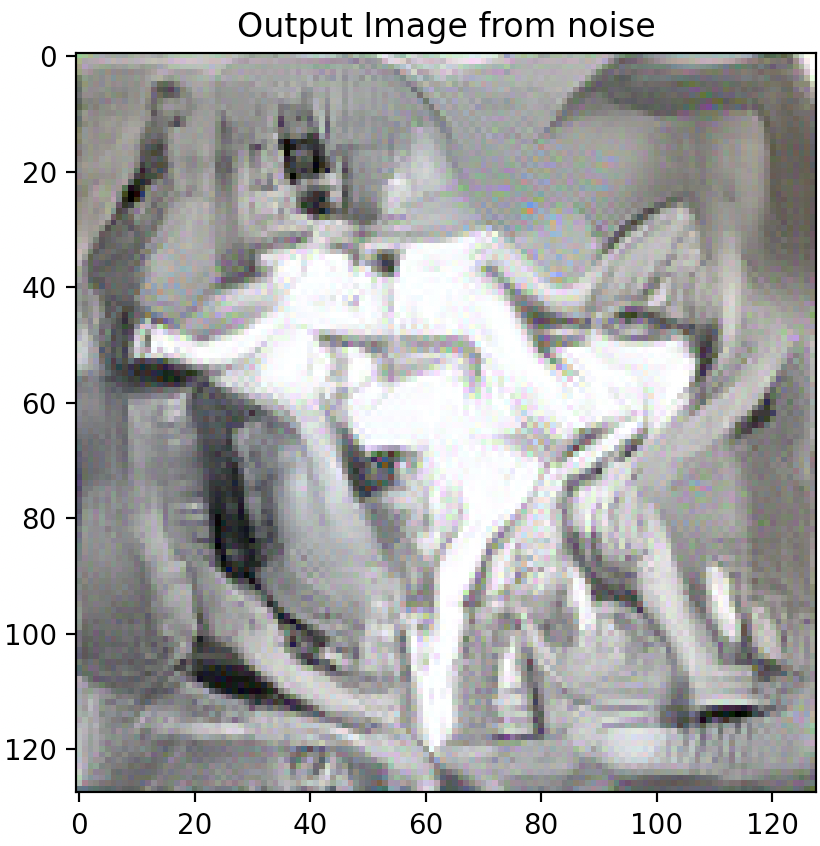
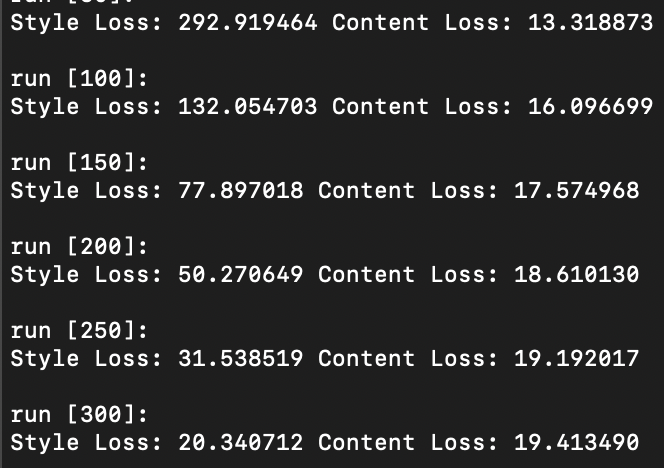
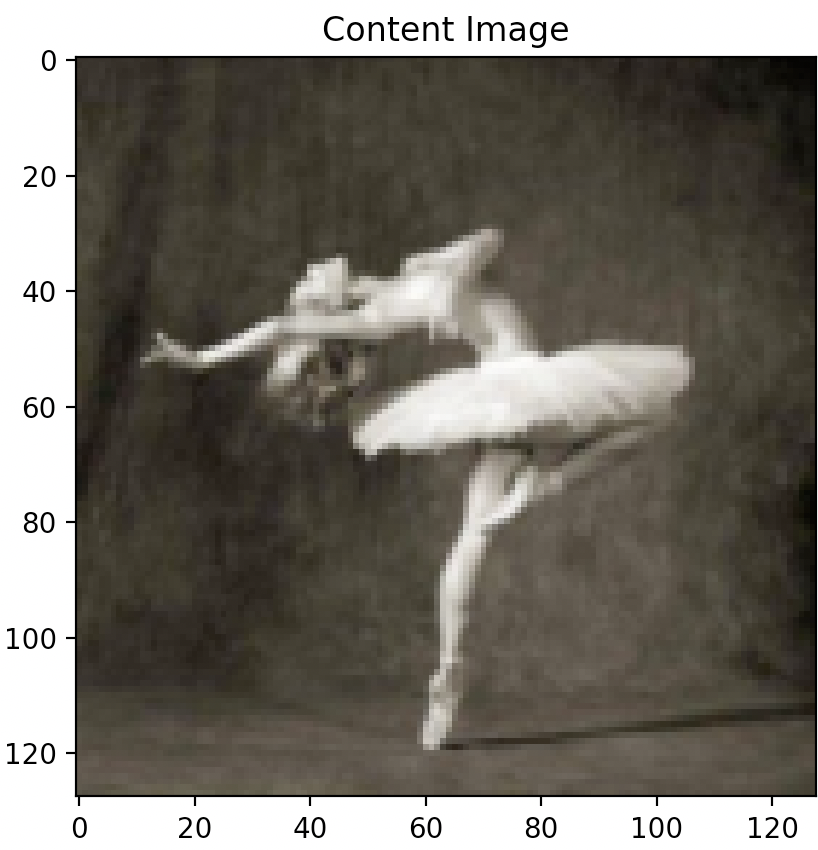
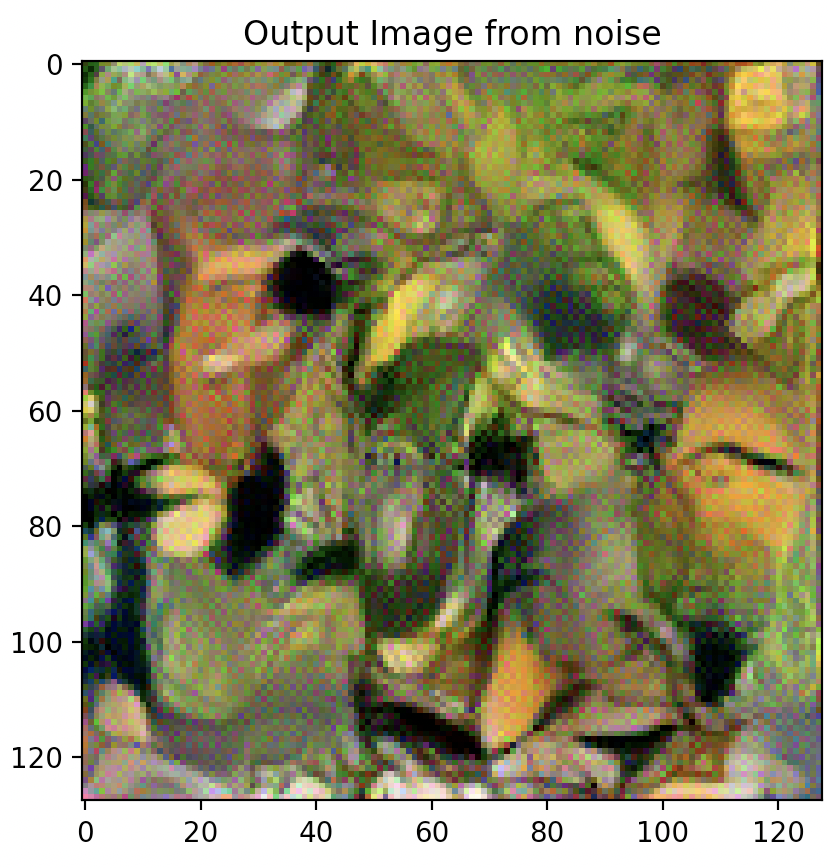
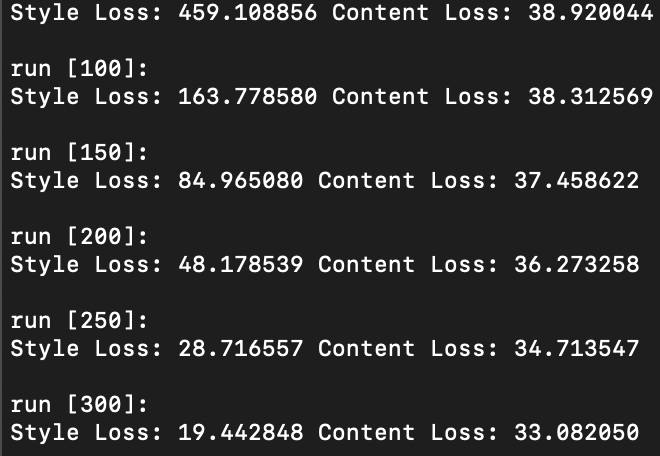
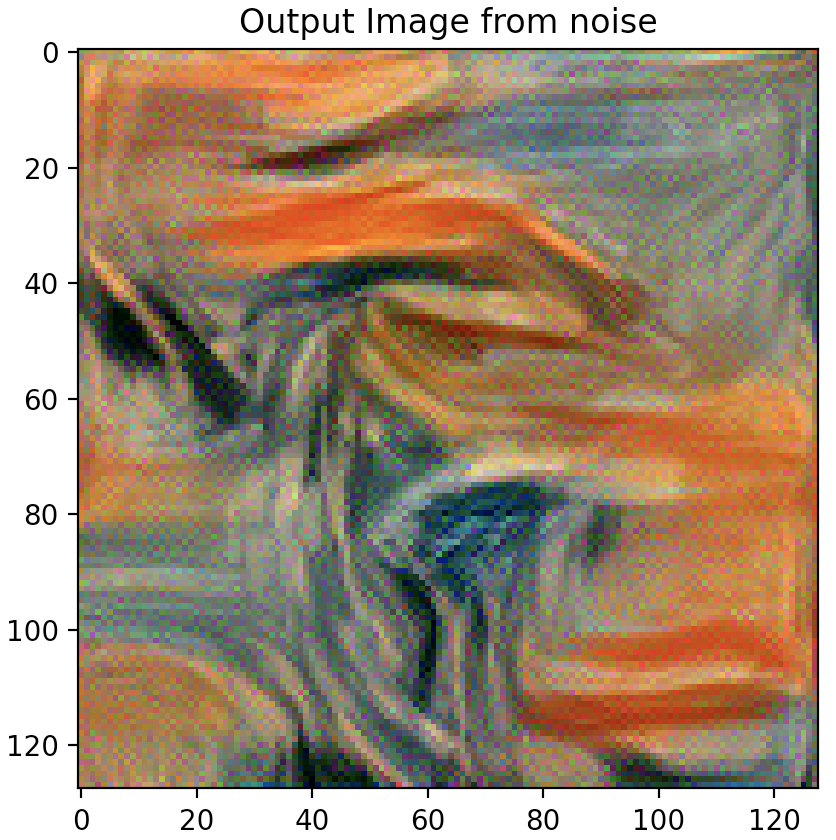
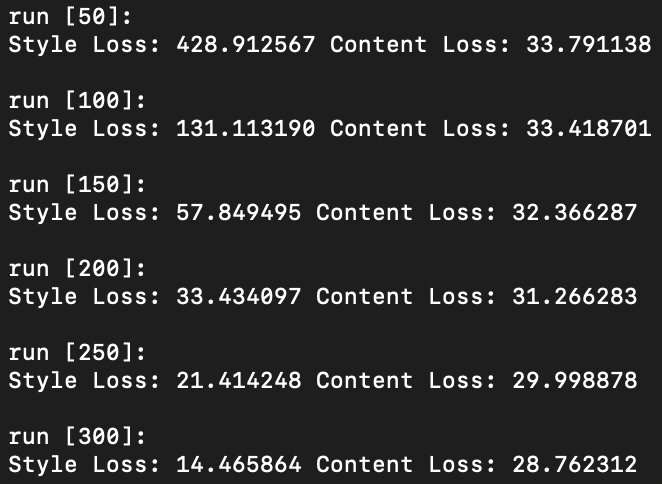
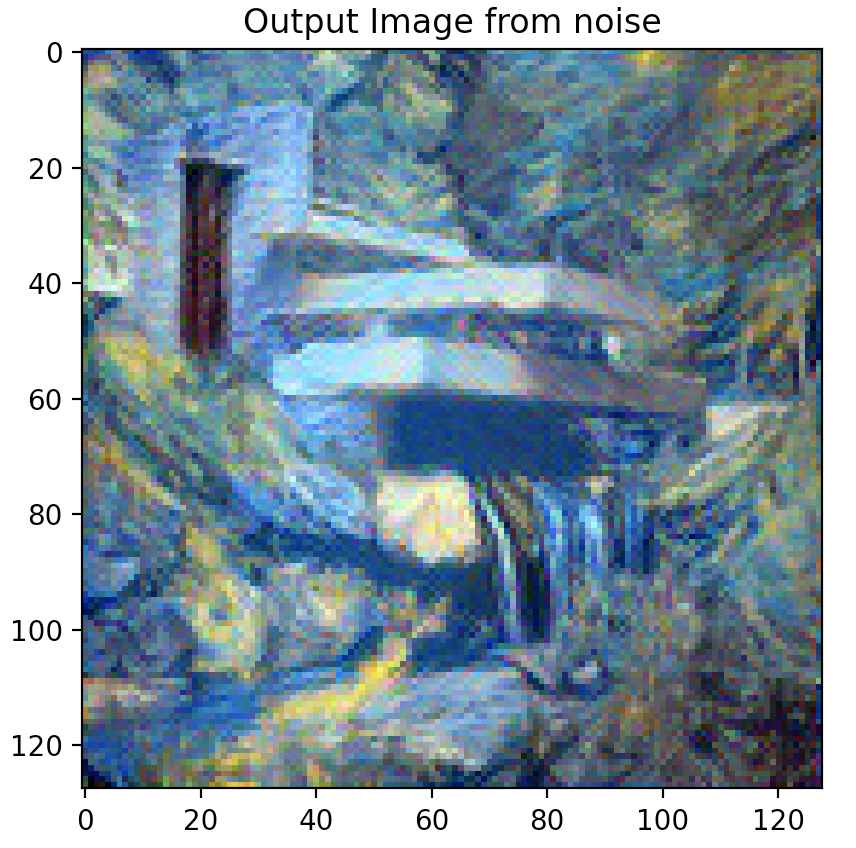
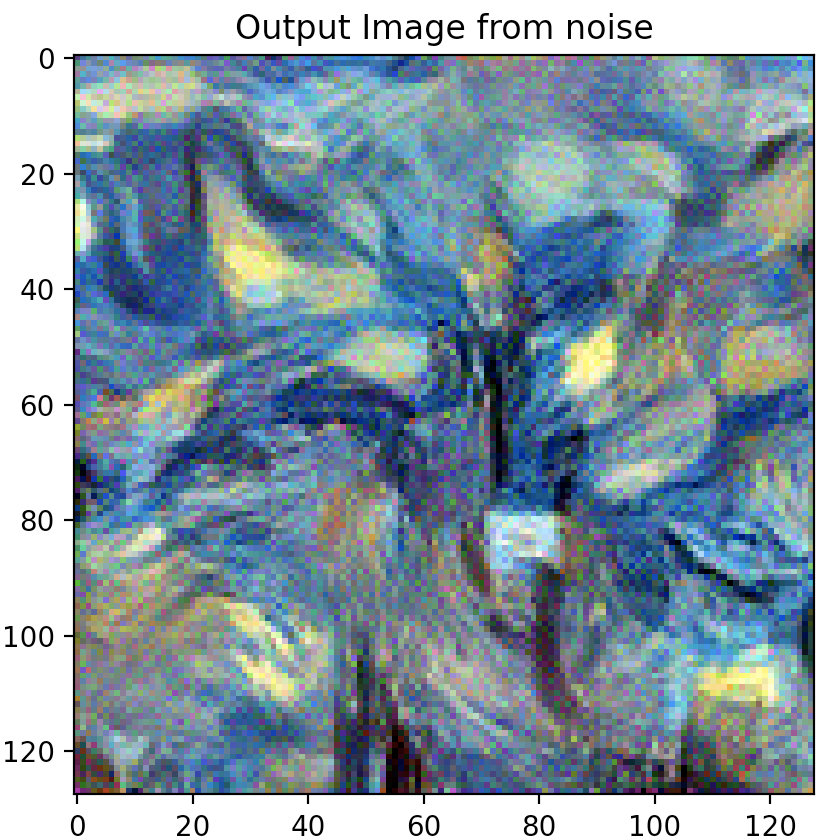
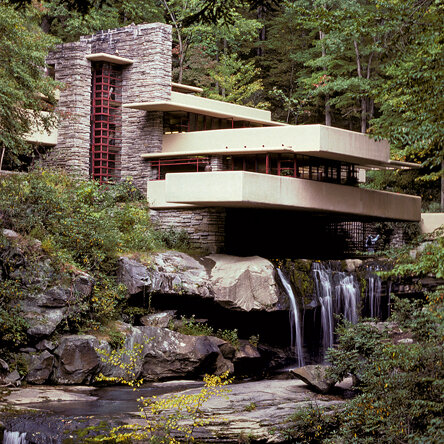
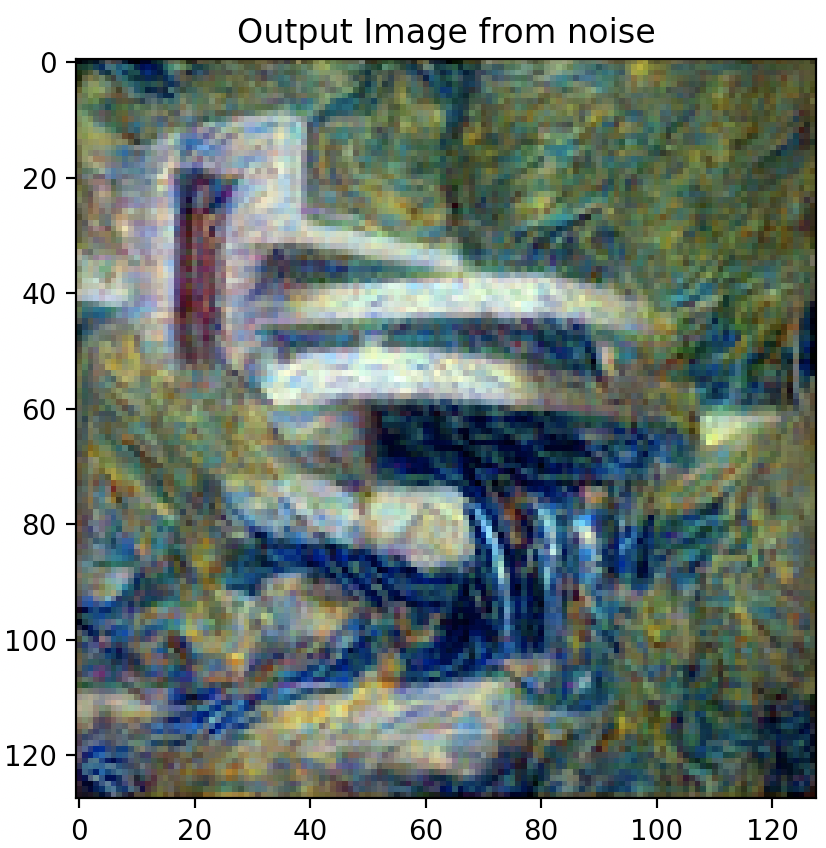
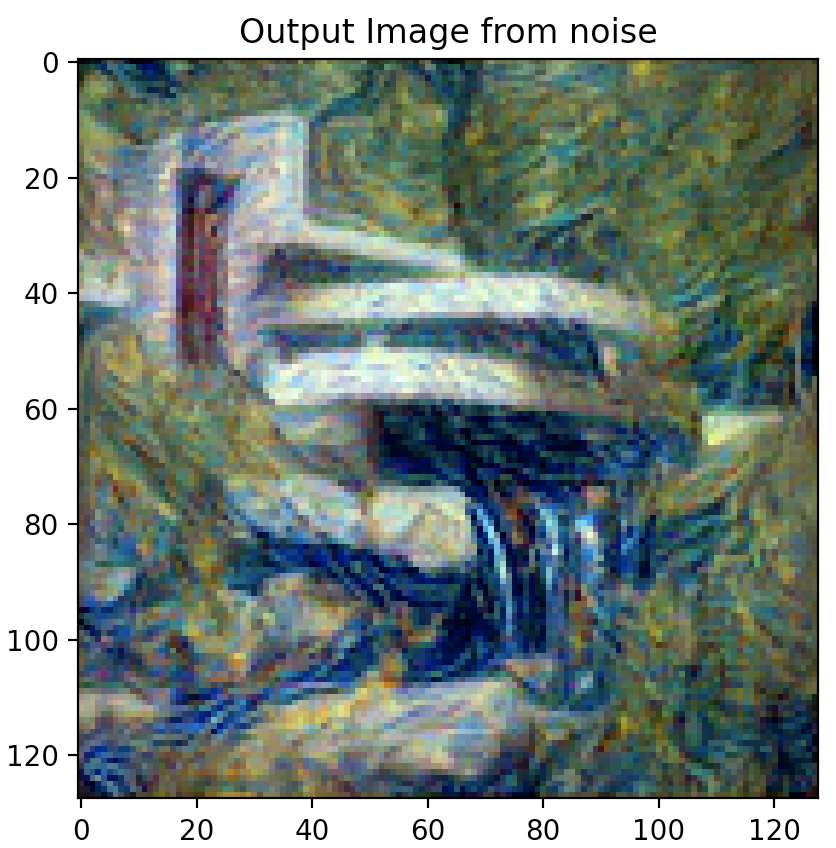
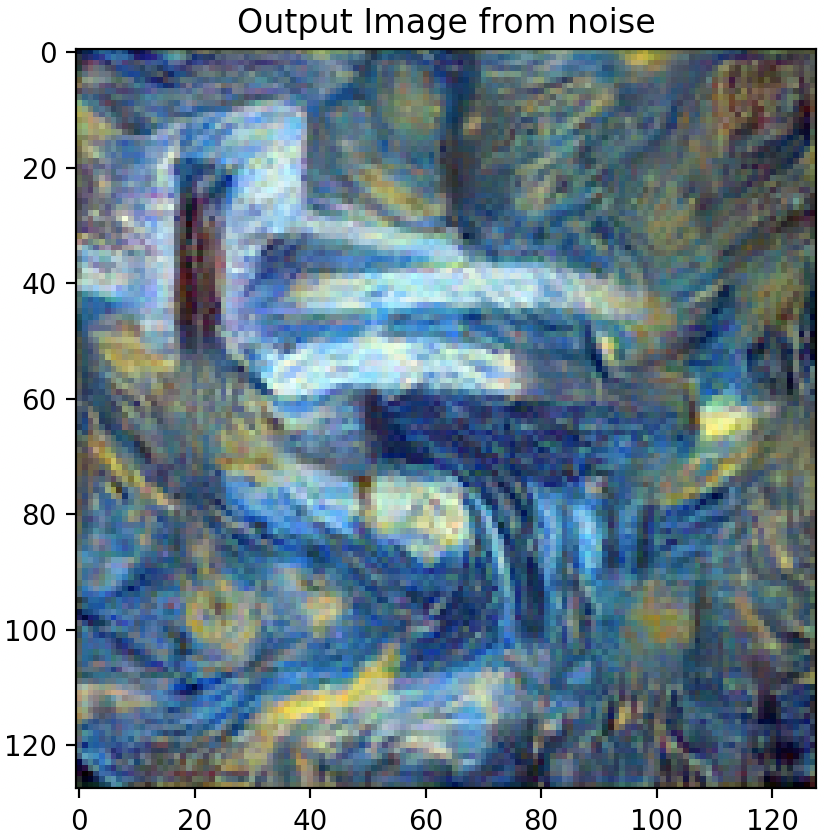
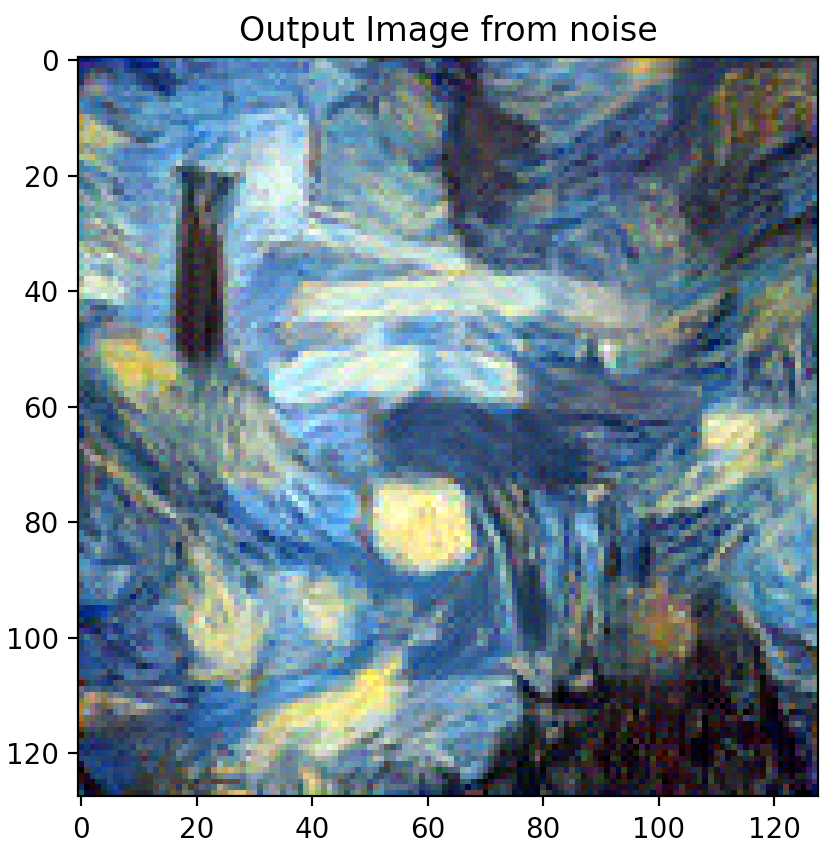
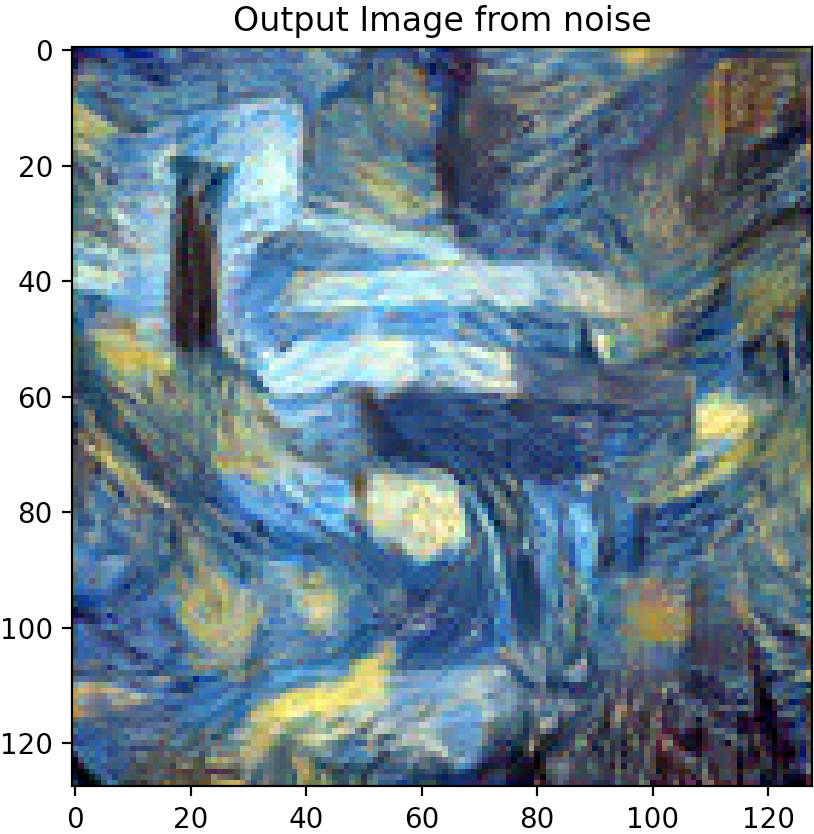
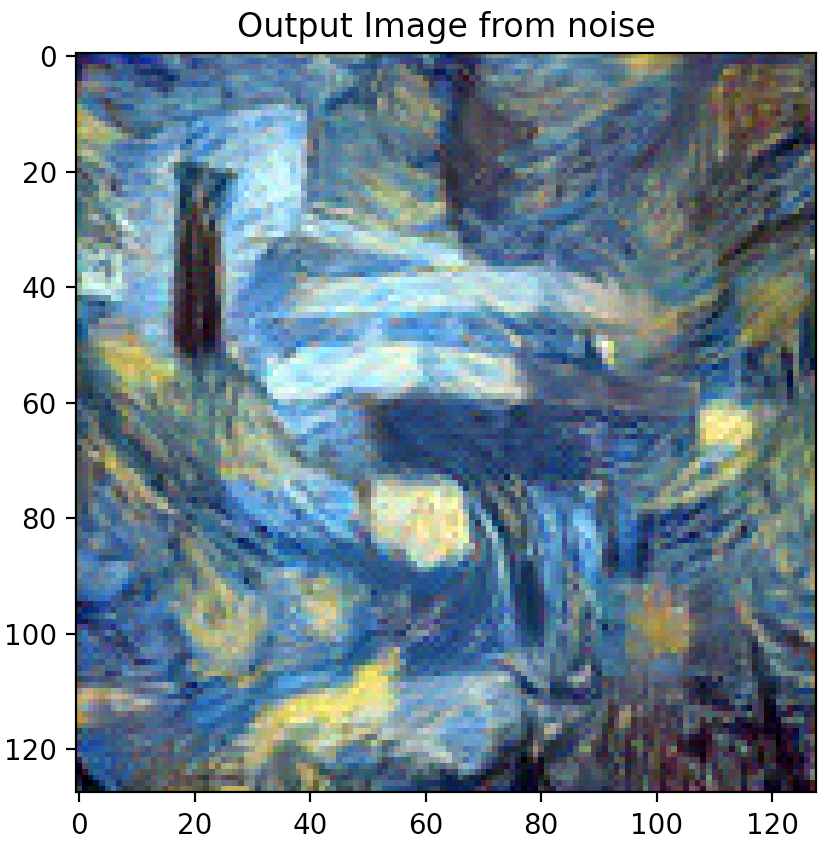
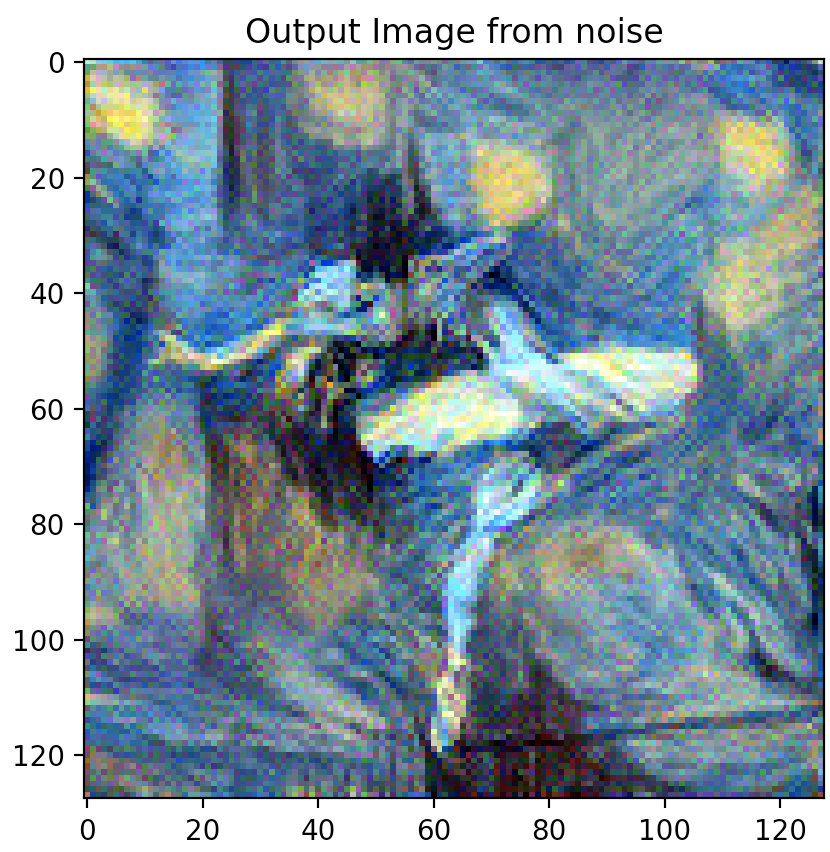
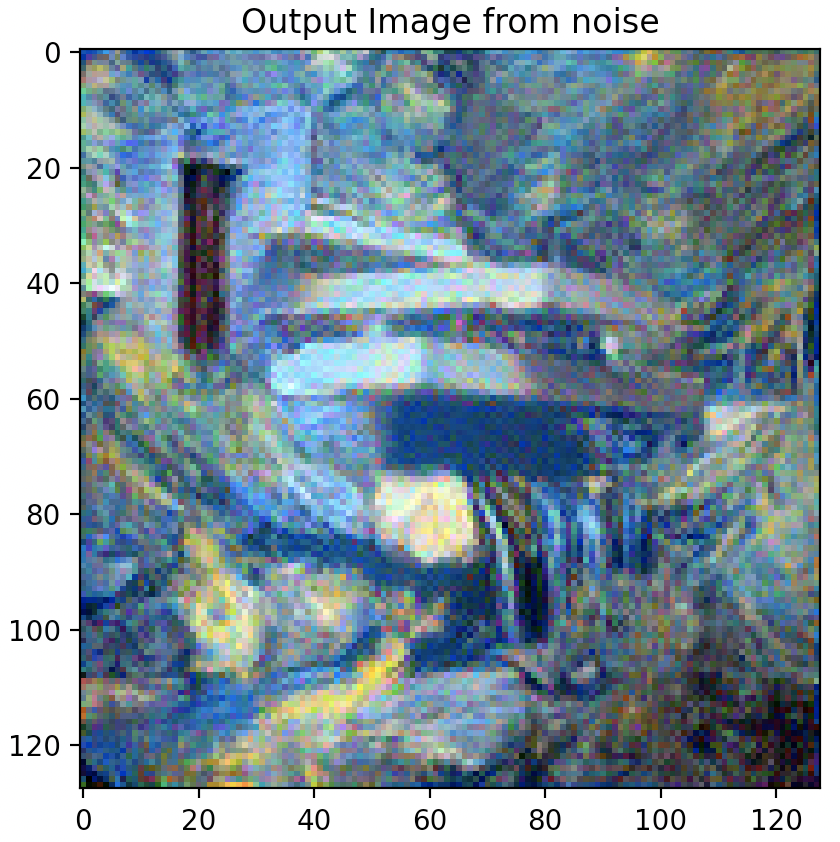
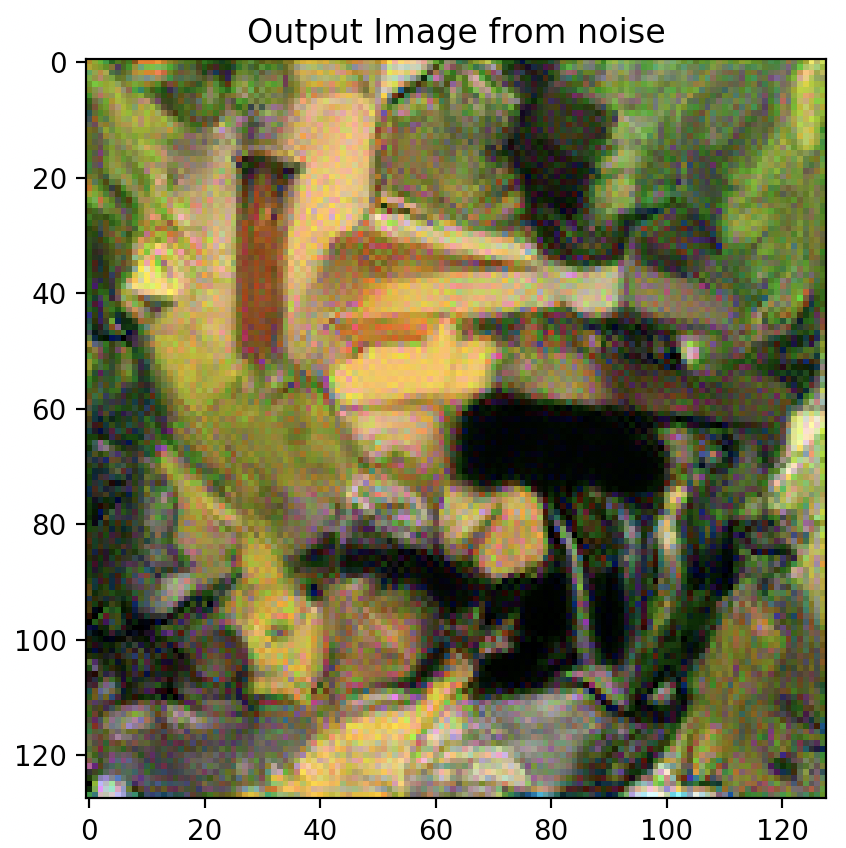
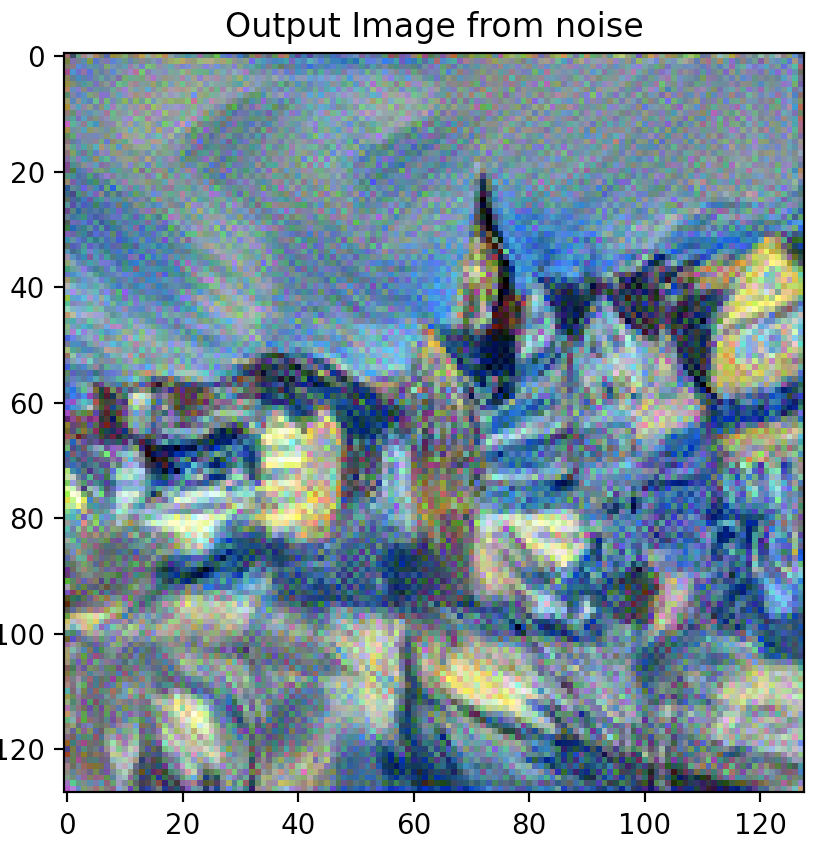
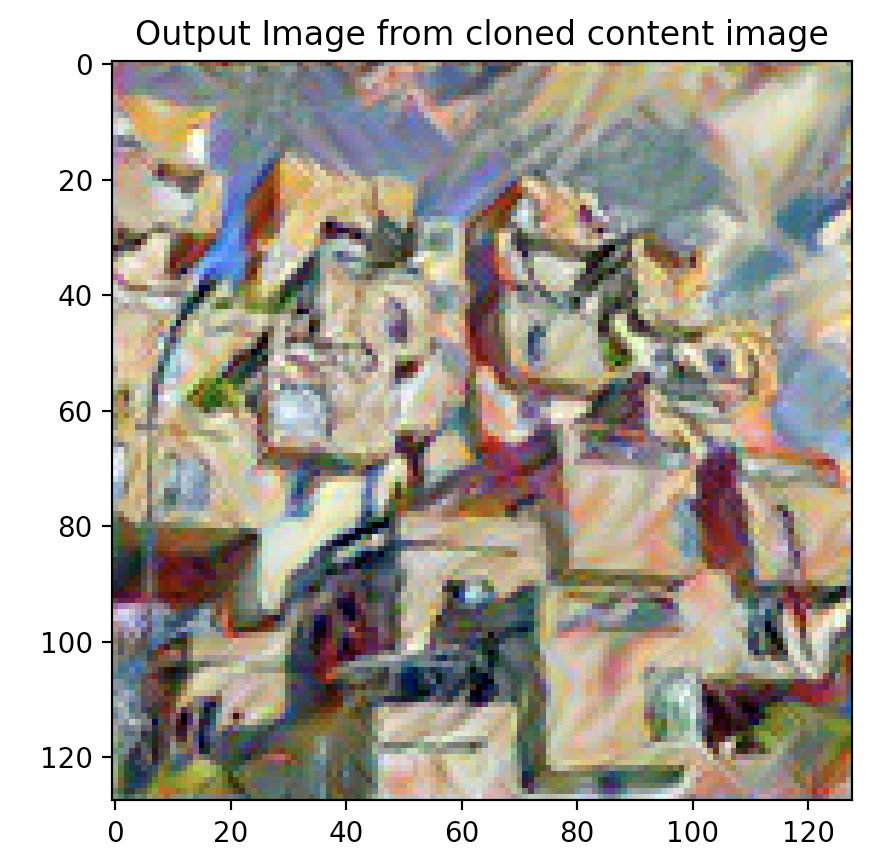
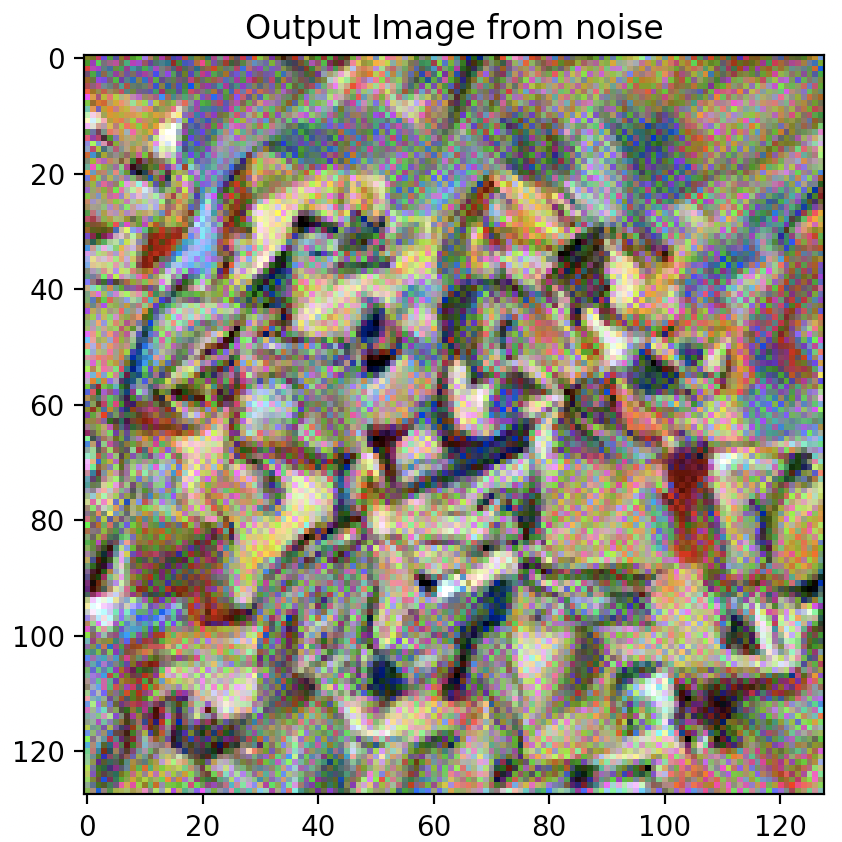
Question 3: Take input as random noise and a content image respectively. Compare their results in terms of quality and running time.
As illustrated below, using a random noise input compared to a cloned content image produces significantly pixelated and lower resolution imagery. Running time however, is slightly faster.


EXPERIMENT
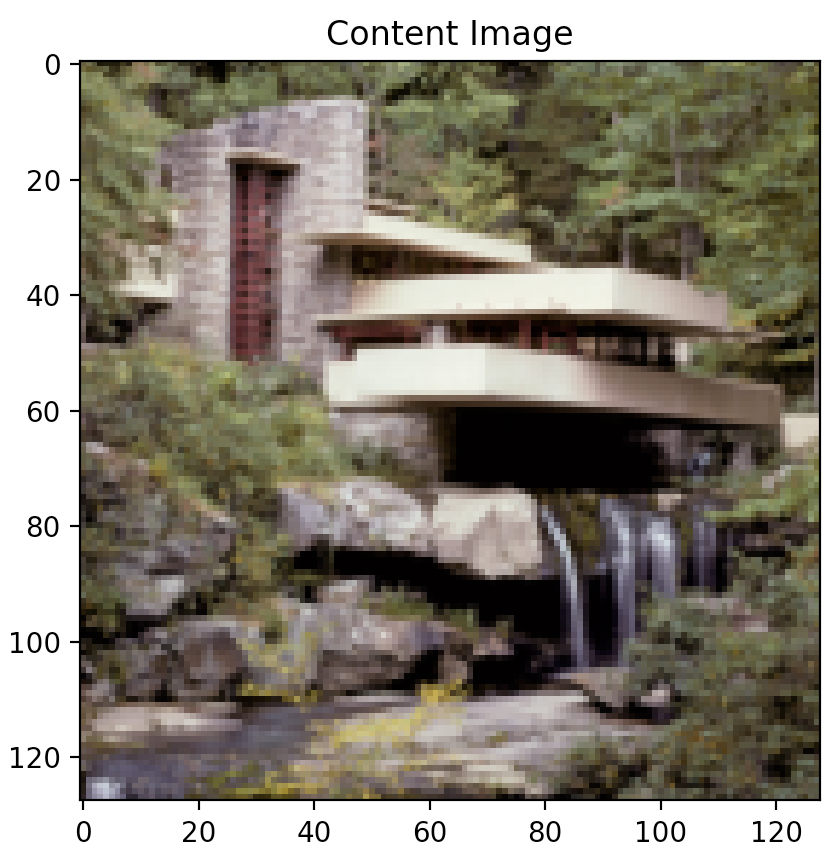
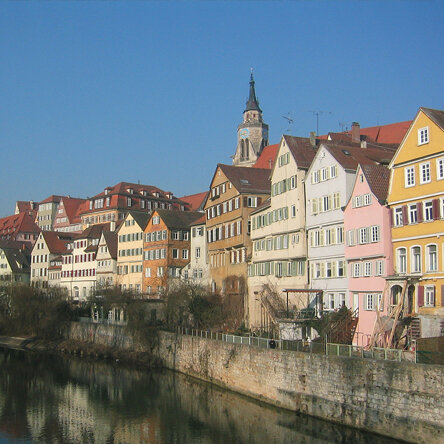
Question 4: Try style transfer on some of your favorite images.